
Last updated September 20, 2026
Free on-site gate assessment - hinges, posts, and your LiftMaster or Nice gate operator checked before anything is quoted
The assessment is free and the quote is the invoice.
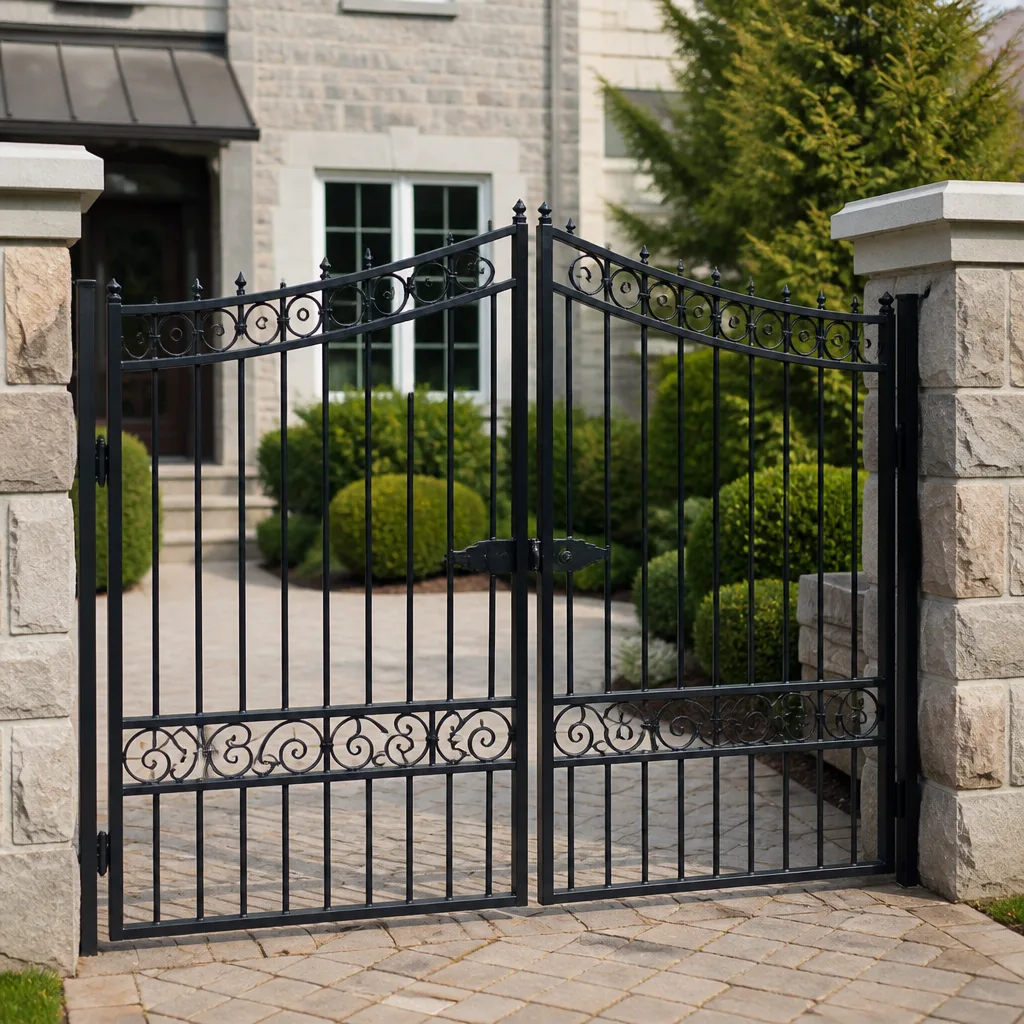
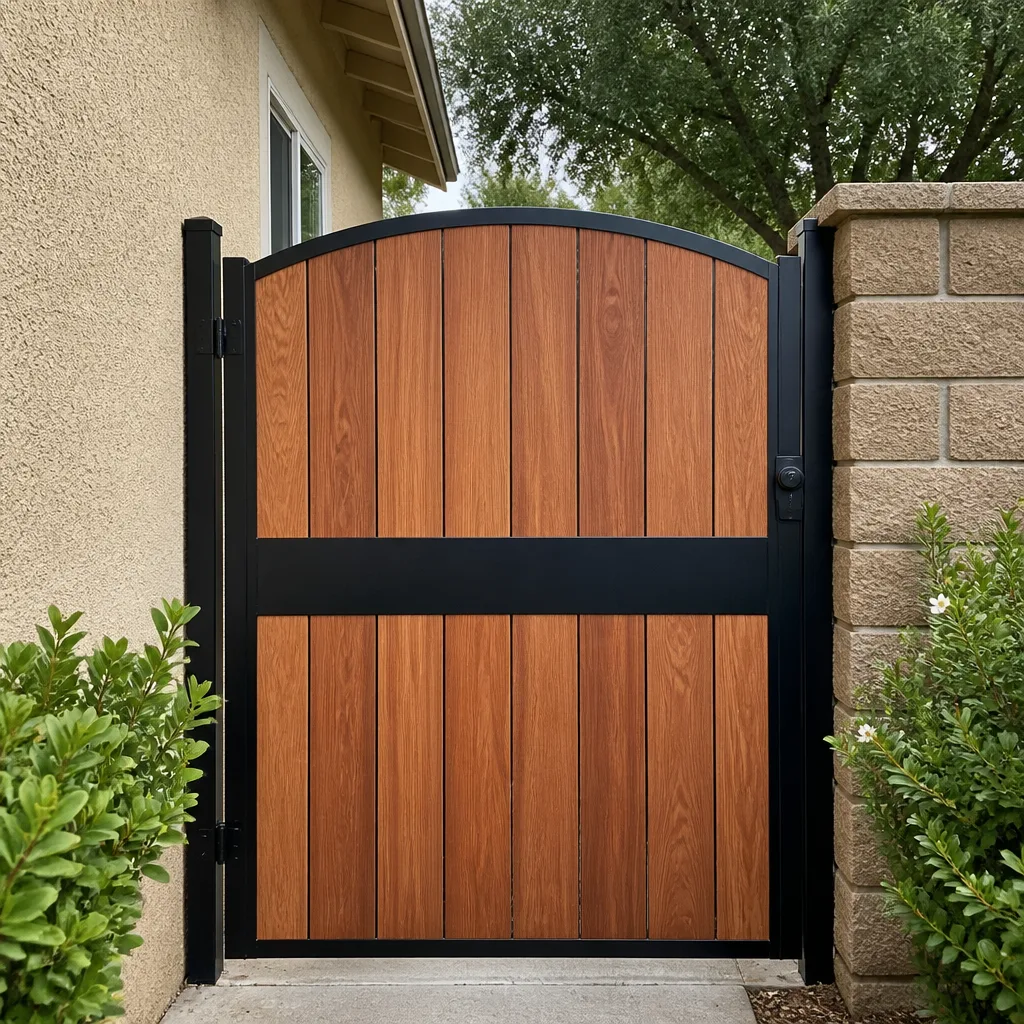
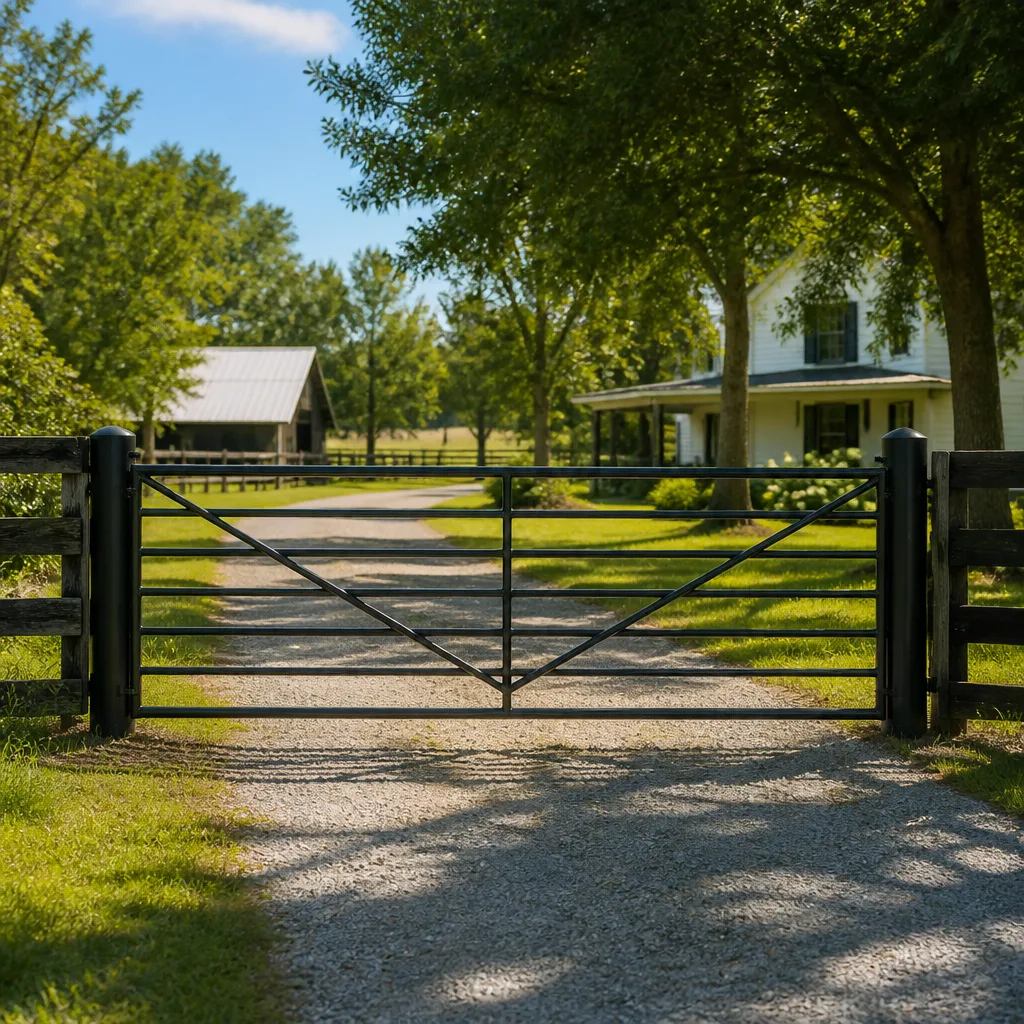
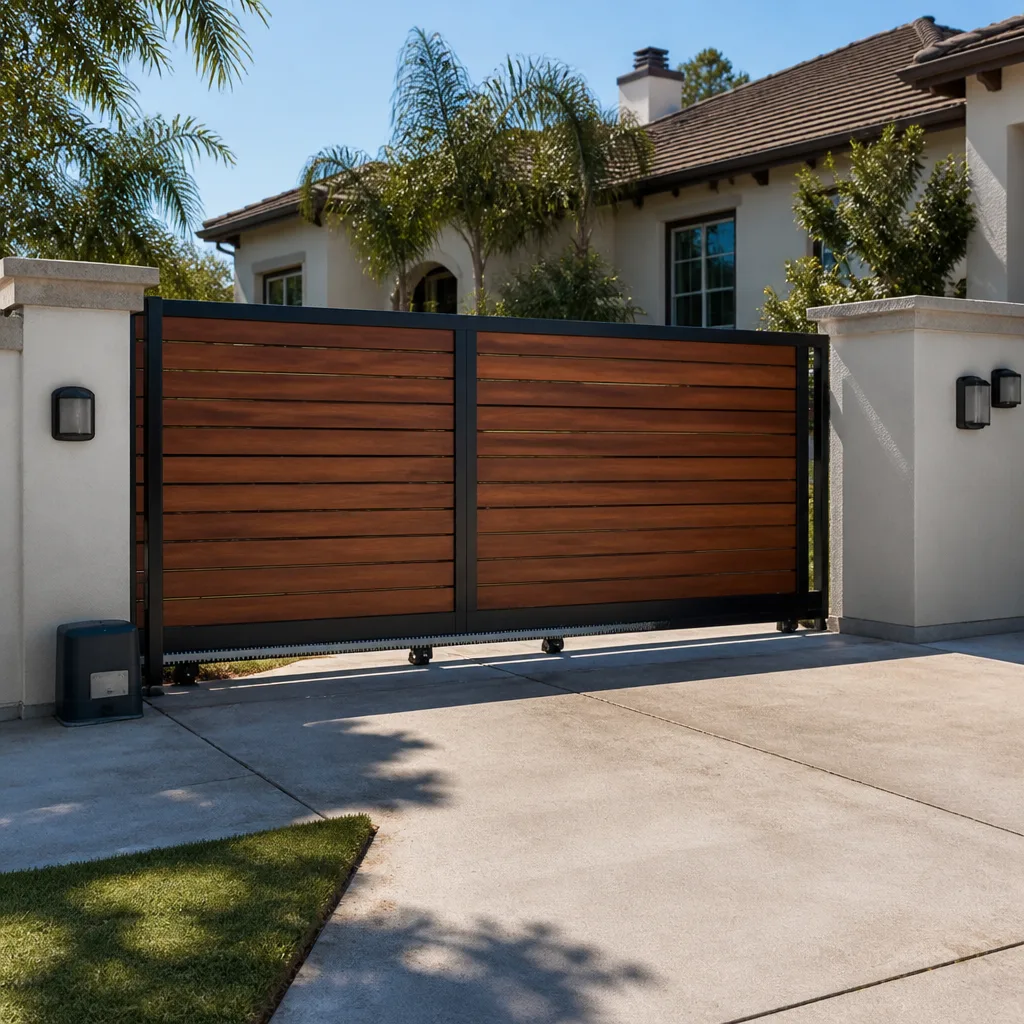
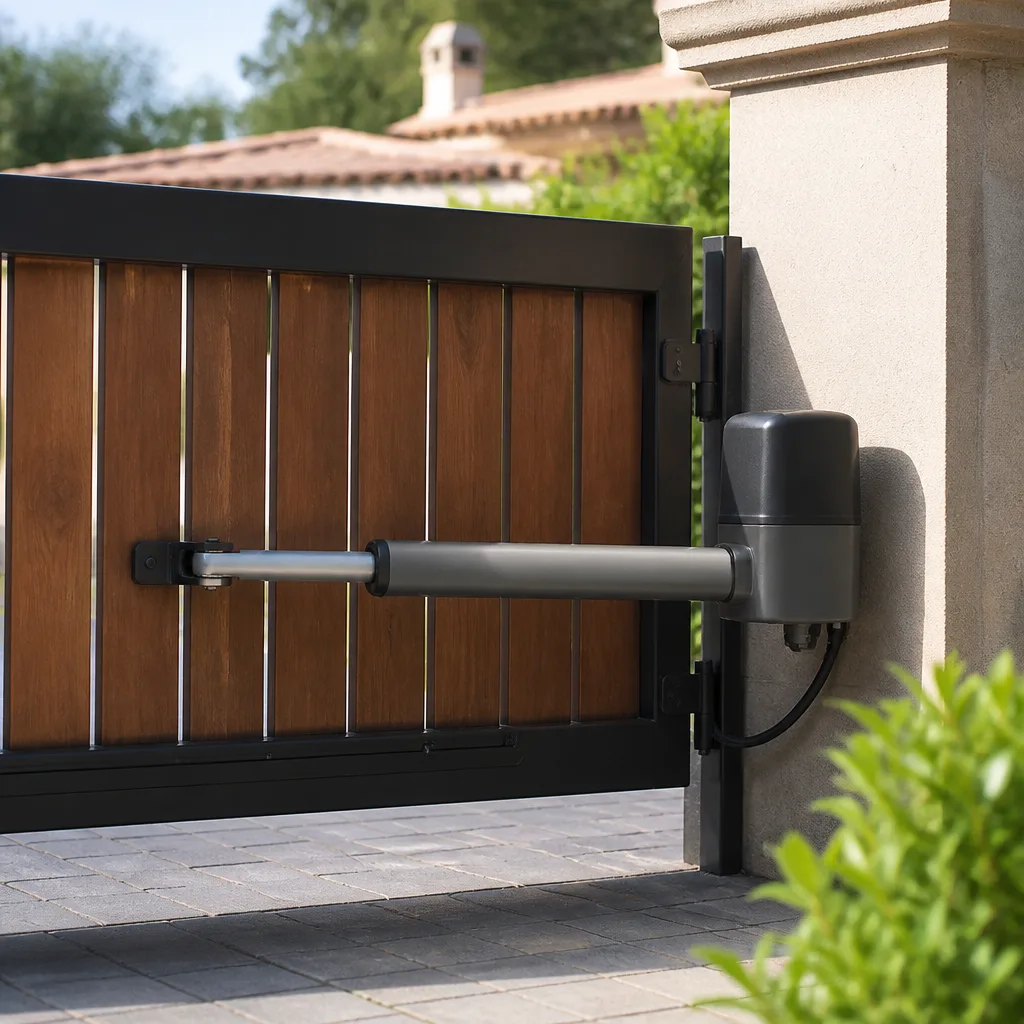
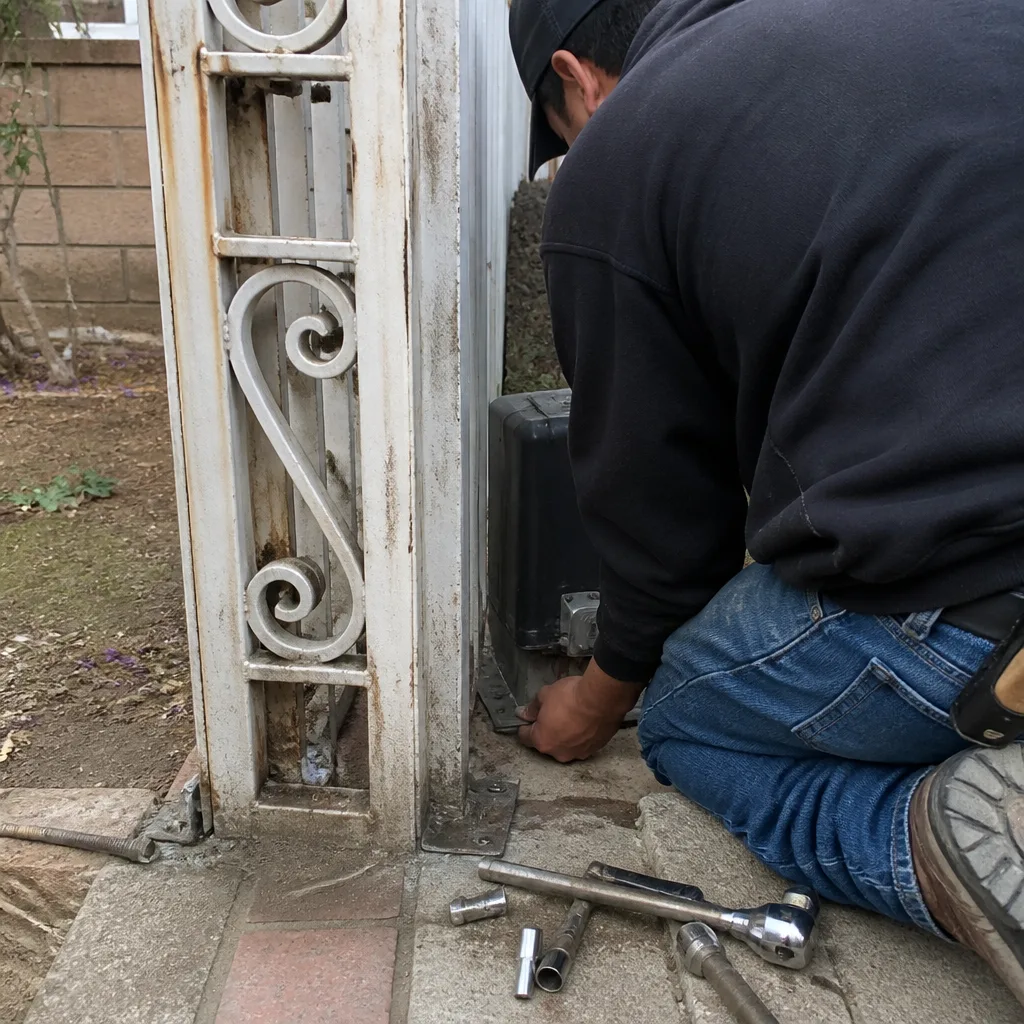 Before
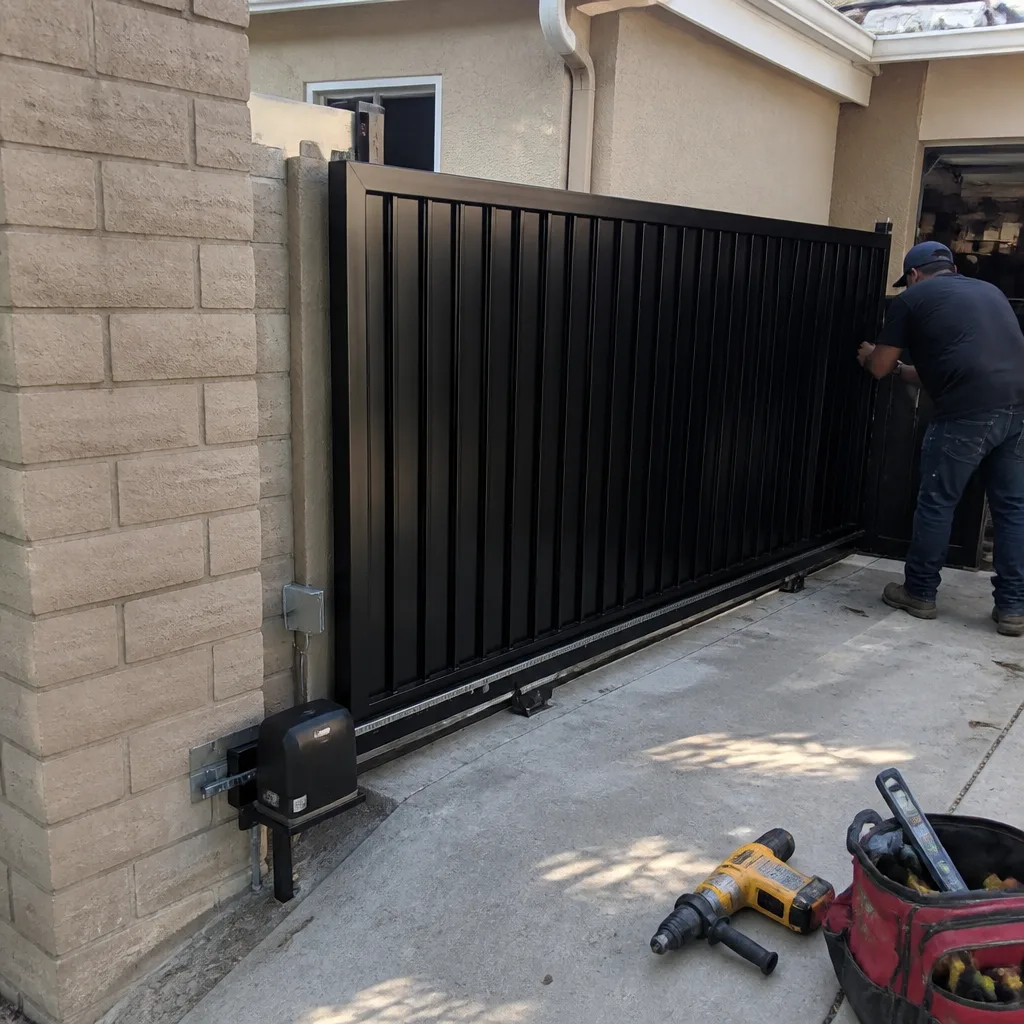 After
After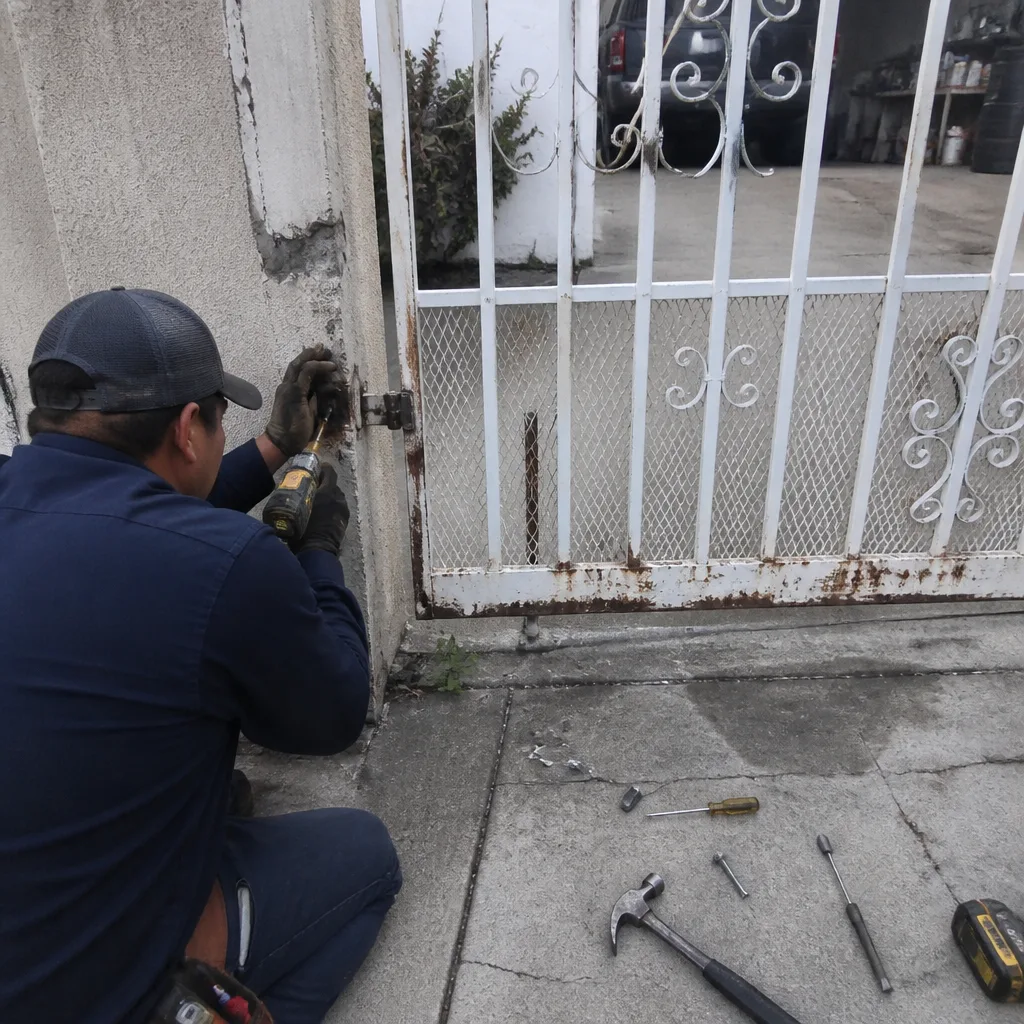 Before
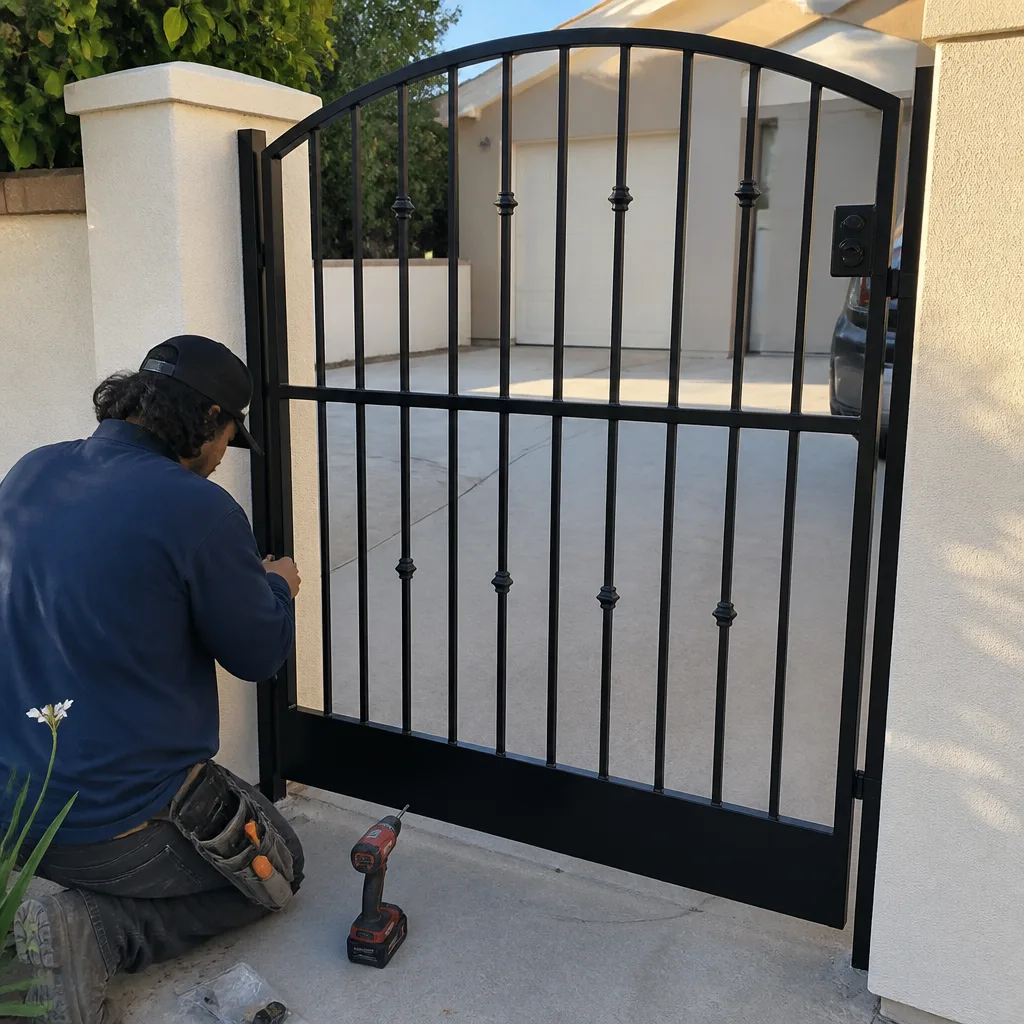 After
After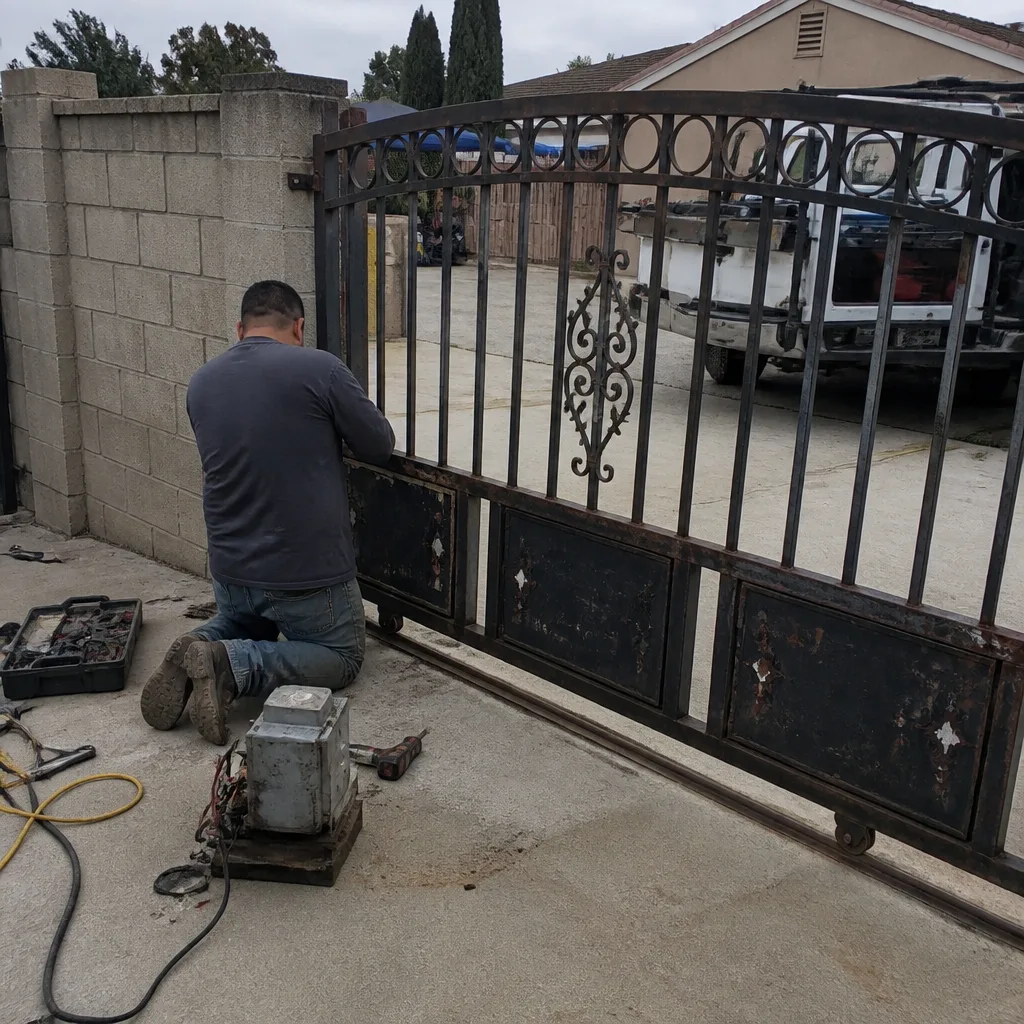 Before
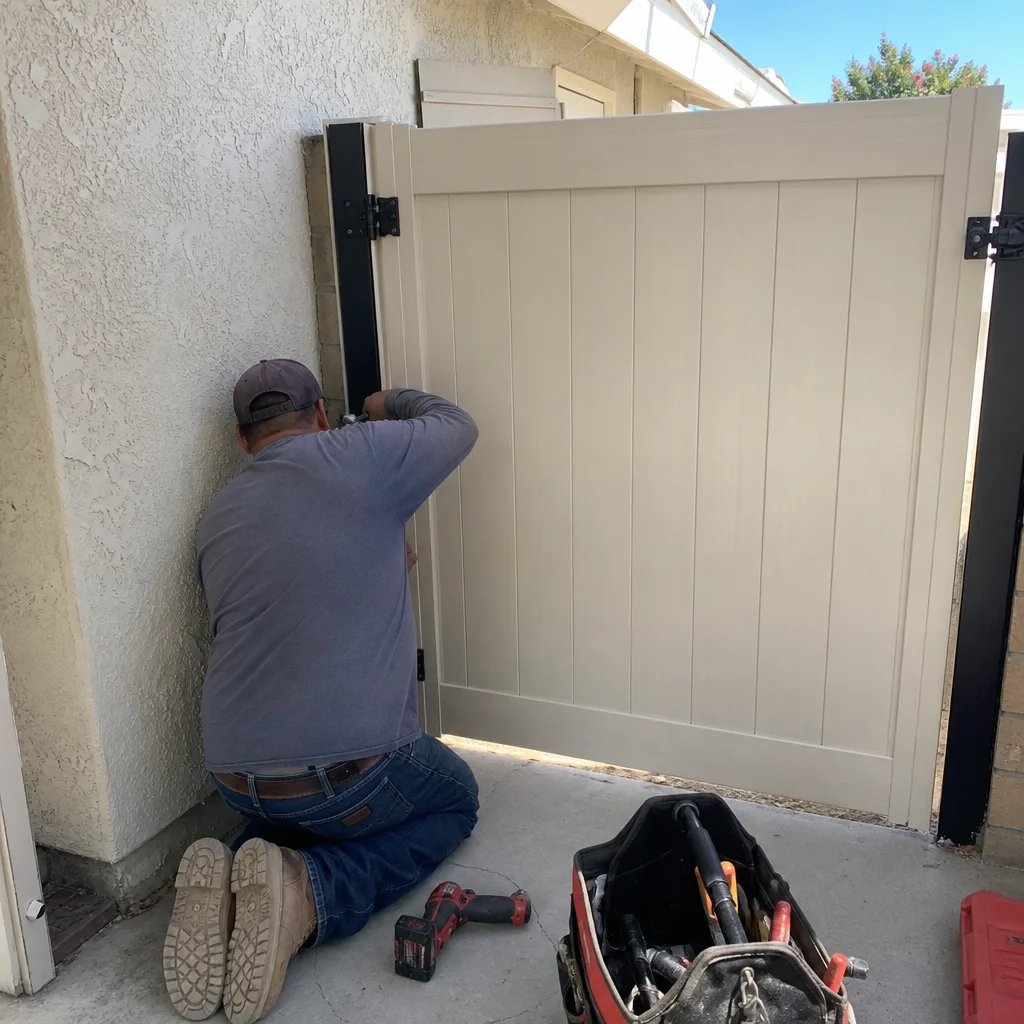 After
AfterThe Complete Guide to Gate Repair in Garden Grove
Here’s something most homeowners don’t realize until they’re standing in the driveway at 6:40 a.m. staring at a gate that won’t open: the phrase “the gate broke” is about as diagnostically useful as saying “the car made a noise.” A single gate that refuses to budge has at least eleven distinct failure points, from a $12 capacitor to a snapped gear rack to a limit switch that drifted two degrees out of position. This guide separates Garden Grove’s specific gate problems from the generic advice that fills most search results, because we’ve spent eleven years learning which failure patterns show up on which lots in this city. For more guides & resources, see our blog. By the end, you’ll know what kind of gate you have, what’s most likely wrong with it, what it should cost to fix, and how to know the repair was actually done right.
Quick Answer
Gate repair in Garden Grove typically costs $185 to $650 depending on the failure point, with most mechanical repairs (rollers, hinges, brackets, limit switches) running $185 to $400 and motor or control board replacement running $450 to $1,800. See our Gate Repair Cost Breakdown: The Garden Grove Homeowner’s Reference for 2026 for full details. The exact price depends on which of the eleven failure points is actually at fault, because replacing a $22 hinge when the real problem is a misaligned photo-eye wastes everyone’s money. A written diagnosis with the specific component and price before work starts is the single best predictor of a one-visit fix.
Table of Contents
- Know Which Gate Type You Have Before Anyone Touches a Wrench
- Why Garden Grove Alley Lots Break Slide Gates Differently
- Post-Tension Slabs and the Rules They Change
- Fails Open vs. Fails Closed: The Symptom That Narrows the Diagnosis
- What Gate Repair Actually Costs in Garden Grove
- What a Complete Repair Record Should Contain
- How to Verify a Repair Before the Technician Leaves
- Common Mistakes to Avoid
- When to Call a Professional
- Frequently Asked Questions
- The Bottom Line
BeforeAfterKnow Which Gate Type You Have Before Anyone Touches a Wrench
Garden Grove’s housing stock spans four decades and at least three distinct gate categories, and the repair path for each is different enough that a technician who skips this first step is effectively guessing. We see it constantly: a homeowner describes “a broken gate,” the tech arrives with a slide-gate parts kit, and the property has a swing gate with a seized hinge. The homeowner pays for the visit and learns nothing. Getting this right first is free, and it takes about ninety seconds.
The Three Gate Types That Dominate Garden Grove
- Swing gates (one or two leaves that pivot on hinges) are the most common on Garden Grove’s older single-family lots and newer HOA entrances. They fail at the hinges, the opener arm, or the control board, in that order of frequency. Swing gates near irrigation zones develop a specific failure pattern we’ll cover below.
- Slide gates (a single panel that rides on rollers along a track) dominate Garden Grove’s alley-access properties and commercial lots. These fail at the track, the rollers, or the gear rack, but they also have a failure mode that swing gates simply don’t: rail misalignment. When the gate grinds or hops mid-travel, the track has shifted.
- Barrier arm gates (the striped arm that rises and falls at condo and apartment entries) are more common in Garden Grove’s multi-family complexes than most people realize. They fail at the arm counterbalance spring, the motor gear, or the detection loop in the asphalt.
One more note before we move on: if your gate is on an alley-access lot in central Garden Grove, there’s a good chance it’s a slide gate, and the next section is specifically for you.
Why Garden Grove Alley Lots Break Slide Gates Differently
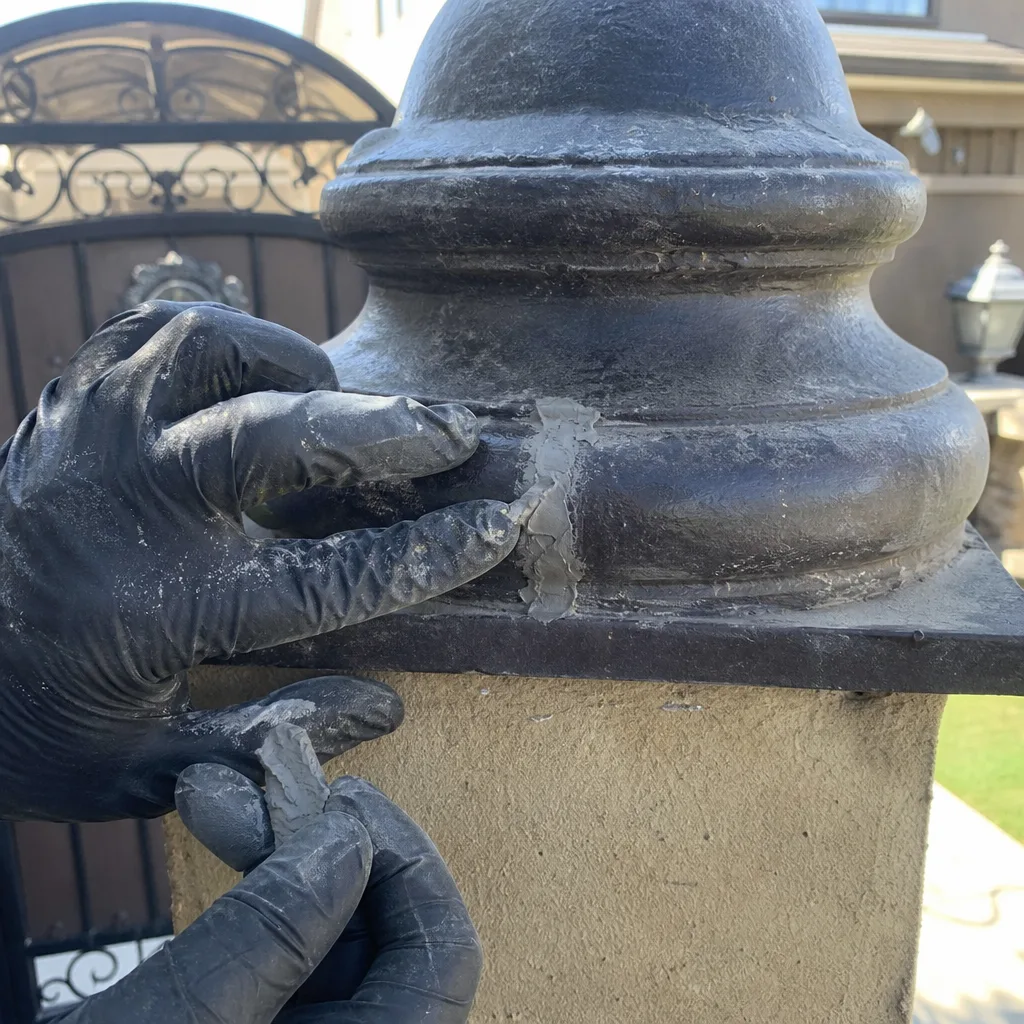
Garden Grove’s older central neighborhoods, especially in the areas west of Brookhurst and south of Garden Grove Boulevard, were built on a grid with rear alleys. That means the driveway gate sits at the back of the property, often on a narrow strip of concrete with a fence on one side and a drainage swale on the other. That layout creates two problems you will not find in a generic gate repair article.
First, the track. Slide gates on alley lots are frequently installed with the minimum recommended track length, because the concrete pad is only so deep and the alley right-of-way is not available for gate equipment. A shorter track means the gate carries more of its weight on fewer rollers, and every one of those rollers wears faster. We regularly see Garden Grove alley gates with the two rearmost rollers carrying 70% of the load, because the middle rollers have flat-spotted and stopped touching the track at all. The symptom is a gate that moves fine until it’s 60% open, then grinds and slows as it transfers onto the worn section.
Second, the motor placement. On a tight alley lot, the opener often gets mounted low and close to the fence line, which puts the gear rack and the pinion gear in the direct splash path of every rain event and every landscape irrigation overspray. The pinion gear rusts at the tooth roots first, which is invisible until it starts jumping teeth. The symptom is a gate that shudders violently about a third of the way through travel, then slams forward and settles at the wrong limit. That’s not a control board problem, and it’s not a motor problem. It’s a corroded pinion gear, and replacing it is a $185 to $320 repair, not a $900 motor replacement.
When we work on Garden Grove alley gates, we use stainless steel motor brackets and elevated mounting blocks on any opener that sits within splash range. If a previous technician installed the opener low and unprotected, we correct it. That correction is part of the repair, not an upsell, because a corroded pinion fed by a low-mounted motor will just fail again in two years.
Post-Tension Slabs and the Rules They Change
A meaningful share of Garden Grove’s subdivisions built since the early 1990s, including much of the West Garden Grove expansion, sit on post-tension concrete slabs. That matters for gate repair in one specific way: you cannot cut, drill, or otherwise penetrate a post-tension slab without first locating the steel cables inside it, because a severed cable releases stored tension and can crack the slab across an entire room. No excuse. No “we’ll drill a shallow hole.” The cables are typically 3/4-inch to 1-1/4-inch below the surface depending on the pour, and a standard 3-inch wedge anchor for a ground-mounted gate hinge can ruin the driveway.
For gate work on post-tension slabs, the correct approach is to locate the cable pattern first using ground-penetrating radar or an experienced cable locator, then anchor the hinge or operator posts only in the safe zones between cables. If no safe zone exists in the needed location, the answer is a surface-mounted base plate with epoxy anchoring, not a shorter anchor and a prayer. We’ve seen Garden Grove driveways cracked from one bad gate hinge anchor, and the repair was a $4,000 slab repair on top of the gate work.
This also affects gate motor mounting. A slide gate operator’s concrete pad is usually poured on top of the existing slab, which is fine, but the anchor bolts for the motor plate still cannot extend into the post-tension slab below. If the pad is too thin or was poured too close to the slab edge, we bolt the motor plate to the pad itself rather than going through to the driveway. That’s the kind of detail that never appears in a generic gate guide, and it’s exactly the detail that keeps a Garden Grove gate from turning a $200 repair into a slab restoration.
Fails Open vs. Fails Closed: The Symptom That Narrows the Diagnosis
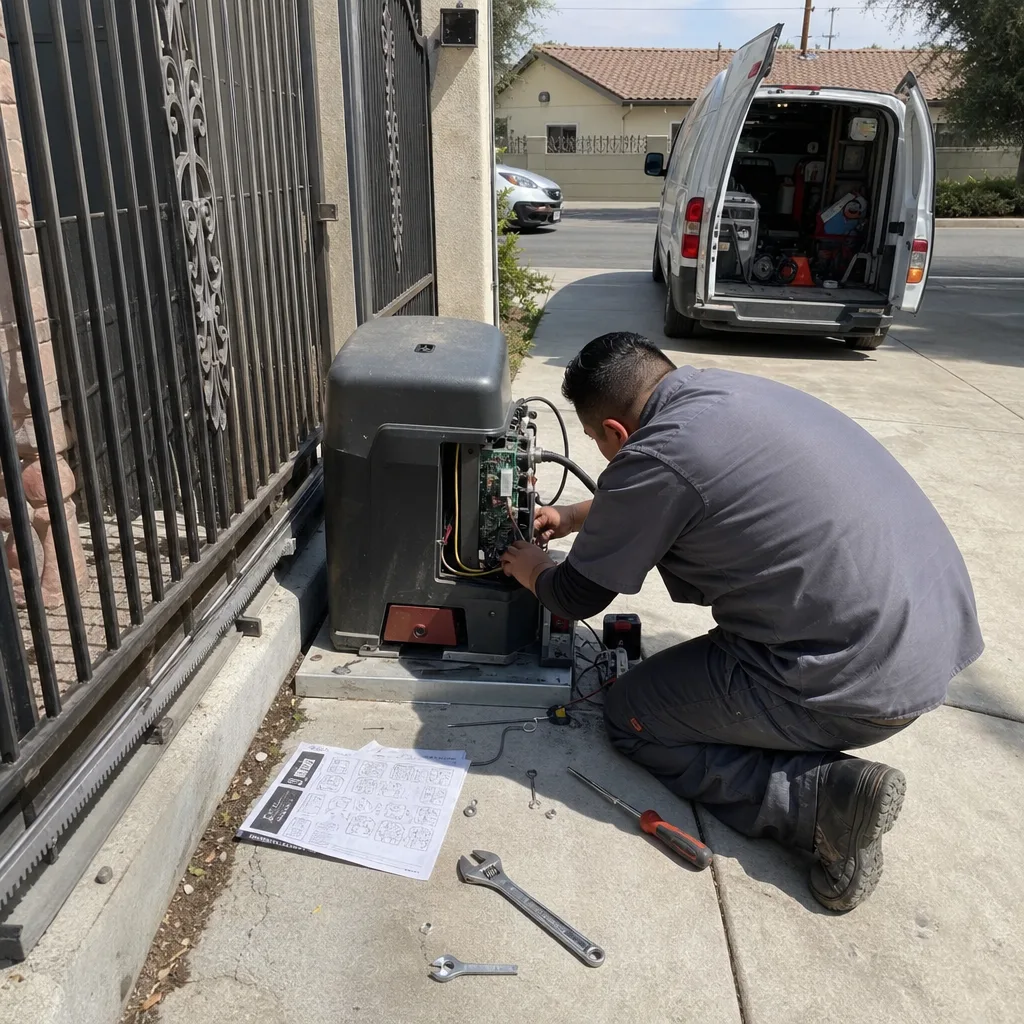
Here’s a diagnostic shortcut that costs nothing and saves homeowners more money than any other single piece of information: the direction a gate fails tells you where to look. When a gate refuses to move, note whether it stopped while fully open, fully closed, or mid-travel, and whether the opener is making any sound at all.
Fails Closed (Gate Wants to Stay Shut)
When a gate sits closed and won’t open, the most common causes are:
- A photo-eye that’s misaligned or blocked. The photo-eye is the infrared beam across the gate path that prevents the gate from closing on a person, car, or bicycle. When the beam is interrupted or misaligned, the control board refuses any close command. The symptom is usually a gate that opens fine but refuses to close, or one that reverses immediately after starting to close. A misaligned photo-eye is frequently fixed in fifteen minutes by cleaning the lens and re-aiming the beam, and it’s one of the least expensive repairs we perform.
- A limit switch stuck in the closed position. The limit switch tells the board where the gate is. If the switch is stuck or its magnet has shifted, the board thinks the gate is already closed and won’t run an open cycle. The fix is a re-set and often a new limit switch, typically under $250 installed.
- A dead motor capacitor. On single-phase gate motors, a failed start capacitor means the motor hums but can’t develop enough torque to move the gate. This is a $120 to $180 part, and it’s often misdiagnosed as a complete motor failure. We test capacitors before recommending a motor, always.
Fails Open (Gate Won’t Close)
When the gate is stuck open or won’t close, the usual suspects are:
- The photo-eye again. If the beam is blocked by a plant, a garbage bin, or a spider web across the lens, the gate treats it as an obstruction and refuses to close. Clean the lens and trim the plant before calling anyone; we estimate that one in four Garden Grove “my gate won’t close” calls is resolved by this alone.
- A closing force setting that’s drifted too low. Gate openers have an adjustable closing force. When it’s set too low, the gate bounces back open every time. This is a board-level adjustment, not a part replacement, and a competent technician completes it in minutes.
- A failing safety edge or pressure strip. The rubber strip on the leading edge of the gate senses contact and tells the board to reverse. When the strip degrades or its wiring shorts, the board sees a constant “contact” signal and refuses to complete the close cycle. The part is a few dollars per foot; the labor is the bigger factor.
The point of all this: if you can tell us which direction the gate fails, we can usually narrow the problem to two or three components before we even arrive. If a technician shows up and starts replacing parts in the order they come out of the van, that’s sequence guessing, and you’re paying for it.
What Gate Repair Actually Costs in Garden Grove
We publish this price range because we think hiding it is worse than the price itself. Every number below is what we’ve charged in Garden Grove for the same repair in the last two years. The range varies with equipment type and access; a swing gate hinge replacement on a flat driveway takes less time than the same job behind a retaining wall.
| Repair | Typical Range in Garden Grove | Notes |
|---|---|---|
| Photo-eye realignment or cleaning | $95-$180 | Most common no-close fix; often same visit |
| Limit switch replacement | $185-$320 | Includes recalibration and travel test |
| Hinge replacement (swing gate) | $220-$480 | Depends on post condition and gate weight |
| Roller replacement (slide gate) | $240-$520 | All rollers replaced, track cleaned and aligned |
| Pinion gear replacement | $185-$320 | Common on alley-lot slide gates |
| Capacitor replacement | $120-$200 | Tested before motor replacement recommended |
| Safety edge replacement | $180-$400 | Per edge; includes control board re-test |
| Motor replacement (single arm swing) | $450-$900 | Brand-dependent; LiftMaster and FAAC in this range |
| Complete slide gate opener replacement | $850-$1,800 | Includes motor, board, brackets, travel limits |
| Control board replacement | $350-$720 | Brand-specific; Ghost Controls and Mighty Mule boards in this range |
Every price is quoted and agreed in writing before any work starts. That’s not a courtesy; it’s how we operate. If a technician won’t put a number on paper before they pick up a tool, you’re not getting an estimate, you’re getting an open-ended invoice.
For the record, our most frequent Garden Grove repair is the photo-eye realignment at the low end of that table, and our most profitable misdiagnosis to correct is the “failed motor” that was actually a $150 capacitor. If you’ve been told you need a new motor and you haven’t seen a multimeter reading, get a second opinion. We offer a free second opinion on any written estimate from another company: bring the paperwork, and we’ll review it on-site at no cost.
Related: our Gate Repair in Garden Grove page covers the individual repair services in more depth.
What a Complete Repair Record Should Contain
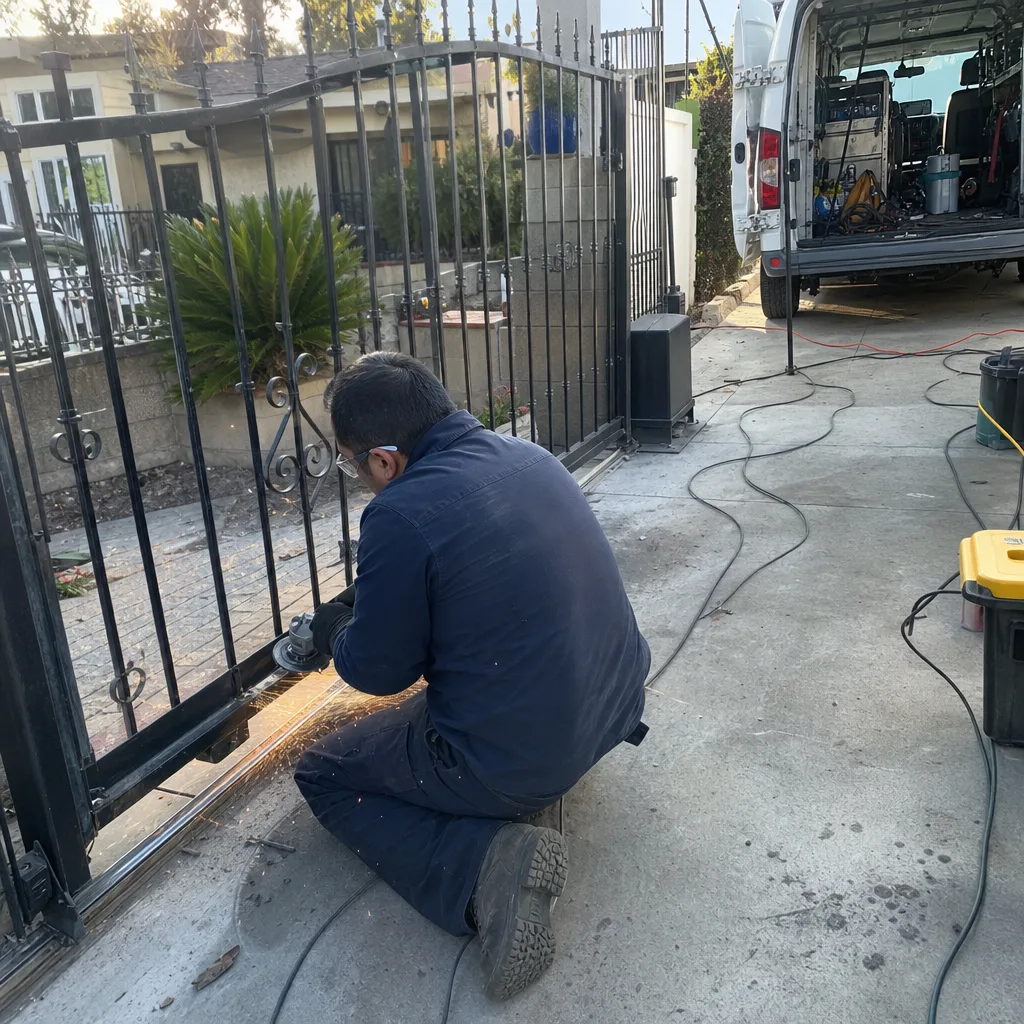
Here’s a situation we inherited twice in the past month: a Garden Grove homeowner pays $600 to a gate company, the gate works for seven weeks, it fails again, and a different technician shows up with no idea what the first tech did. No part number. No adjustment readings. No photo. The new technician starts from zero and quotes another $600 to rediscover what should have been documented the first time. The homeowner pays twice for the same repair.
A complete repair record should contain four things, and the absence of any one of them is a red flag:
- The part number installed. Not “a new motor.” The exact manufacturer part number. If it fails again under warranty, you need that number. If it fails again after the warranty, the next tech needs that number to match the replacement.
- The limit-switch readings. Every gate opener has travel limits. Those limits are set to specific positions, and they are measurable. A written record of what the limits were set to, and what they were changed from, tells the next technician whether the gate drifted out of position or the motor truly failed.
- A wiring diagram of what was connected to what. Even a simple gate has six to ten wire terminations. A one-page diagram means the next tech spends twenty minutes confirming continuity instead of ninety minutes tracing an undocumented splice.
- A photo log of the work. After, and ideally before. What the gear rack looked like worn. What the new one looks like installed. The exact position of the new limit switch. Photos don’t lie, and they’re worth their weight in diagnostic time on the next call.
We leave this record on every visit, from a ninety-dollar photo-eye alignment to a full opener replacement. It’s the same practice Adrian Vance brought from commercial access-control work starting in 2014: a documented record means no future technician has to guess, and no homeowner pays twice to rediscover a problem that should have been written down the first time.
How to Verify a Repair Before the Technician Leaves
You don’t need a multimeter or a technical background to verify that a gate repair was completed correctly. You need a list of observable indicators and the willingness to ask for them before the tech drives away. Five minutes of verification beats a follow-up call two weeks later.
Step one: ask for the part. If a motor, board, capacitor, or gear was replaced, the technician should hand you the old component before they leave. If they “already threw it in the truck,” ask to see it. The old part is yours; you paid for the new one. A technician who can’t produce the removed part is a technician who may not have removed one.
Step two: watch the full cycle. Run the gate open and closed at least three times, standing where you can see the hinge side or the roller side. It should move smoothly at every point, with no shudder, no grind, no stopping and restarting. Any irregularity at any point means the repair isn’t finished.
Step three: check the limits. A correctly set gate stops flush at both ends. It doesn’t slam into the post, and it doesn’t stop two inches short. If the close limit leaves a gap, the photo-eye is still online and nothing is truly fixed.
Step four: ask for the documentation. The part number installed, the limit readings, the photo log. If the technician can’t or won’t provide a written record, you have your answer about whether the repair will hold up under warranty. A repair without a record is a repair you’ll pay for again.
We recognize that asking for these things takes a certain amount of nerve, especially when a uniformed professional is telling you the job is done. But the tech who is proud of the work will gladly show you the old part, walk you through the limit settings, and hand you the record. The tech who is not will rush you through the invoice. Your gate will tell you which one you hired.
Common Mistakes to Avoid
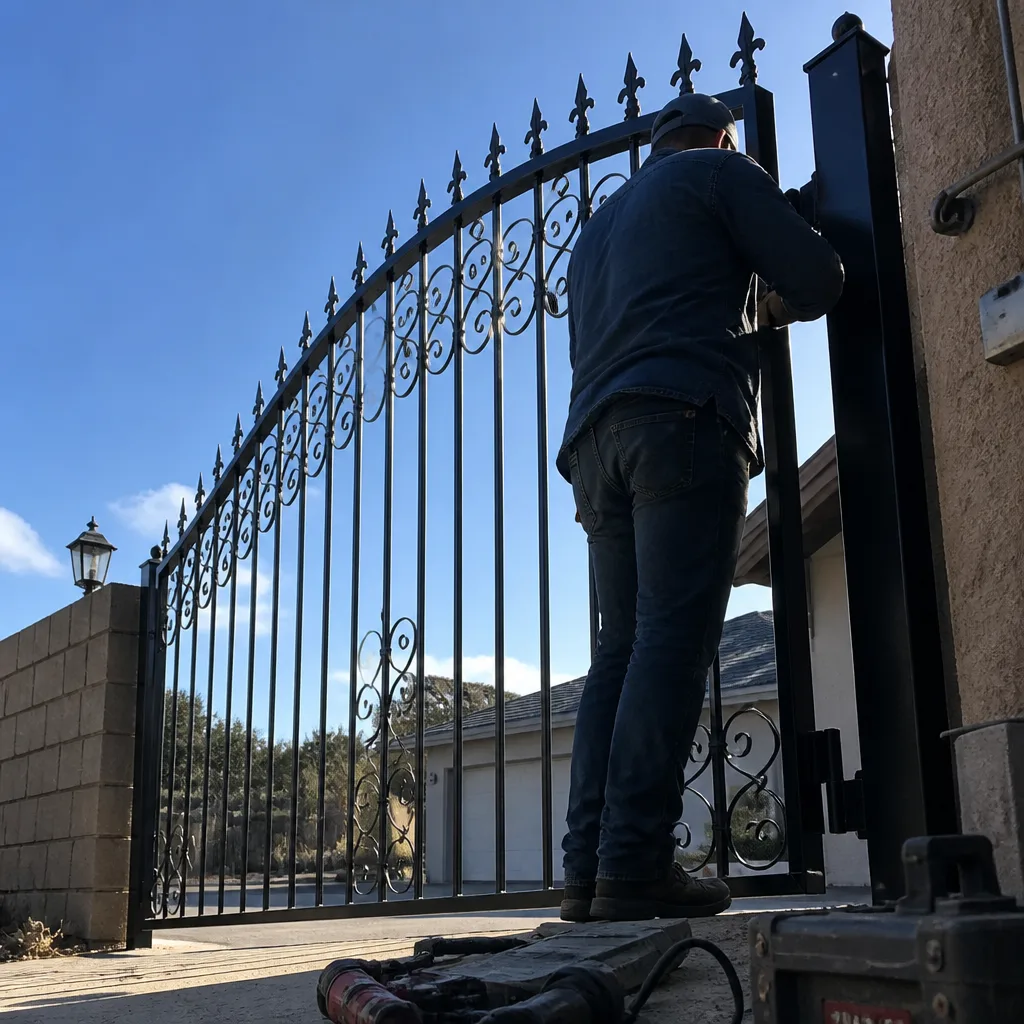
- Replacing the motor before testing the capacitor. A capacitor is a $15 to $180 component, depending on the motor. A motor is $450 to $900. A competent technician rules out the capacitor first. In Garden Grove, where the marine air accelerates capacitor degradation, this mistake is even more common than average because capacitors fail more often here than in drier climates.
- Drilling into a post-tension slab without locating the cables. Covered above, but worth repeating: a single bad anchor hole can cost more than the gate itself. If your technician reaches for a hammer drill and hasn’t mentioned cable locating, stop the job.
- Ignoring a misaligned photo-eye because “the gate is working now.” A gate that occasionally reverses for no reason is a gate with an intermittent photo-eye problem. It will fail completely at the worst possible moment. Fix it while it’s a $95 alignment instead of a $400 control board replacement.
- Paying for a repair with no documentation. If you don’t have the part number and the limit settings in writing, you don’t have a repair you can warranty. You have a story. When the gate fails again in six months, you’ll pay to have it diagnosed from scratch.
- Letting irrigation overspray hit the gate equipment. In Garden Grove, where automatic sprinklers run year-round, overspray on a motor or gear rack is the single most avoidable cause of premature gate failure. A two-dollar sprinkler head adjustment saves a $300 gear replacement. We guide every customer on this because we’d rather fix the gate once than watch it corrode again.
- Putting off an alley-track realignment. On Garden Grove’s narrow alley lots, a slide gate that grinds mid-travel is wearing its rollers unevenly every time it cycles. The longer you wait, the more rollers you replace. A $200 track alignment now is cheaper than a $500 roller replacement plus the same alignment later.
When to Call a Professional
Call a professional if the gate fails open or closed and you’ve ruled out the obvious: an actual obstruction, a tripped breaker, or a photo-eye lens that’s visibly covered in dirt. Call the same day if you hear grinding, popping, or a slamming sound at either end of travel, because those are mechanical failures that will worsen with every cycle. If your gate is on a post-tension slab and the repair involves drilling, call someone who locates cables before they drill; this is not optional. If you don’t have a written record from the last repair and the gate has failed again, call someone who will create one this time. If you have a written estimate from another company and something about it feels off, bring us the paperwork. Vance Gate Repair Garden Grove offers free estimates throughout Garden Grove, and a written price before any work starts, every time. Call (657) 837-6867.
If you’re considering a full replacement rather than a repair, our Gate Installation in Garden Grove page will walk you through what a complete installation includes. And if the motor itself is the issue, our Gate Motor & Opener in Garden Grove page covers motor and opener specifics in more detail.
Frequently Asked Questions
Our Gate Repair service in Garden Grove typically costs between $185 and $650 for most mechanical repairs, with motor or control board replacement at the higher end of that range or beyond. The exact figure depends on the component that failed, which is why a written diagnosis with a specific part and price before work begins is worth insisting on. Call (657) 837-6867 for a free written estimate in Garden Grove.
For mechanical repairs like photo-eye realignment, hinge replacement, roller replacement, and capacitor swaps, yes, same-day service is usually available. For motor or control board replacement that requires a specific brand part, we may need to source the component, which typically takes one business day. Most Garden Grove repairs are completed in a single visit.
That’s almost always the photo-eye or the closing force setting. The photo-eye, which is the infrared beam across the gate path, may be misaligned, dirty, or blocked by a plant that grew into the beam path. Alternatively, the closing force may be set too low, causing the board to interpret the normal resistance at the close limit as an obstruction. Both are inexpensive fixes; a photo-eye alignment is typically under $180.
Yes. We service LiftMaster, FAAC, BFT, Linear, Viking, Ghost Controls, DoorKing, Elite, and Mighty Mule, so we repair whatever motor is already on the property rather than steering you toward a replacement you don’t need. If you have an opener from a brand not listed, call us and we’ll tell you honestly whether we can source the parts.
A proper gate repair invoice includes the specific part number installed, the limit-switch readings before and after, a written description of what was adjusted, and ideally a photo log of the work. If your previous repair invoice lacks any of these, you’re missing the documentation that would make the warranty enforceable and the next repair cheaper.
If the gate grinds, shudders, or hops during travel but the motor is humming at full speed, the problem is mechanical: track, rollers, or gear rack. If the motor hums but doesn’t move the gate at all, it’s likely the capacitor. If the motor is silent and the board shows no response, the problem is electrical upstream of the motor. A multimeter test separates these in minutes. We don’t recommend replacing any motor before that test is done.
The Bottom Line
Gate repair in Garden Grove is rarely a mystery, but it is frequently a misdiagnosis. The difference between a $180 fix and a $1,800 motor replacement is often one multimeter reading, one track inspection, or one good look at a capacitor that costs more to test than to replace. Identify your gate type, note which direction it fails, and demand a written record of whatever was done. If you’re in Garden Grove and the gate is acting up, call us at (657) 837-6867. You’ll get a written price before any work starts, a photo record when the work is done, and a repair covered for a full year under our 365-Day Done Right Promise. That’s the standard we’ve kept since 2014.
Written by Adrian Vance, Owner at Vance Gate Repair Garden Grove, serving Garden Grove since 2014.