
Last updated September 20, 2026
Free on-site gate assessment - hinges, posts, and your LiftMaster or Nice gate operator checked before anything is quoted
The assessment is free and the quote is the invoice.

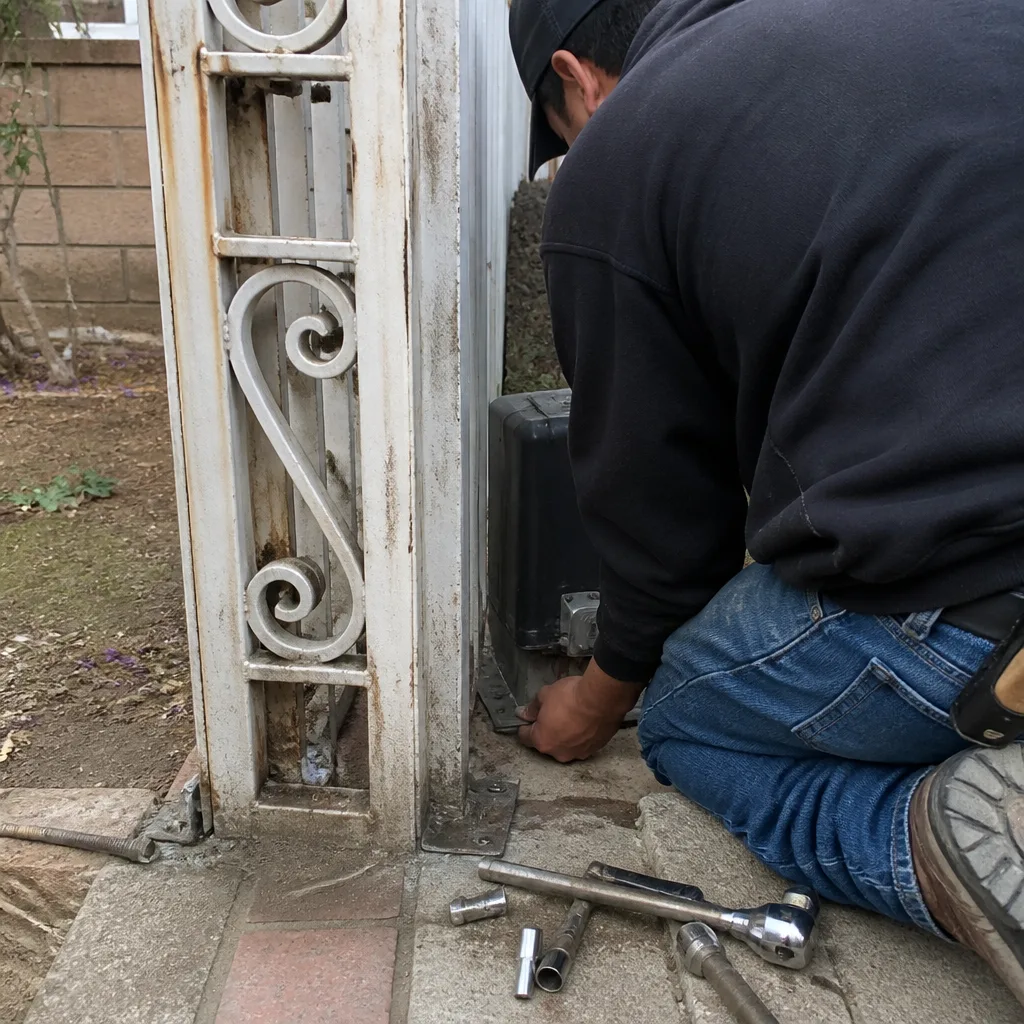 Before
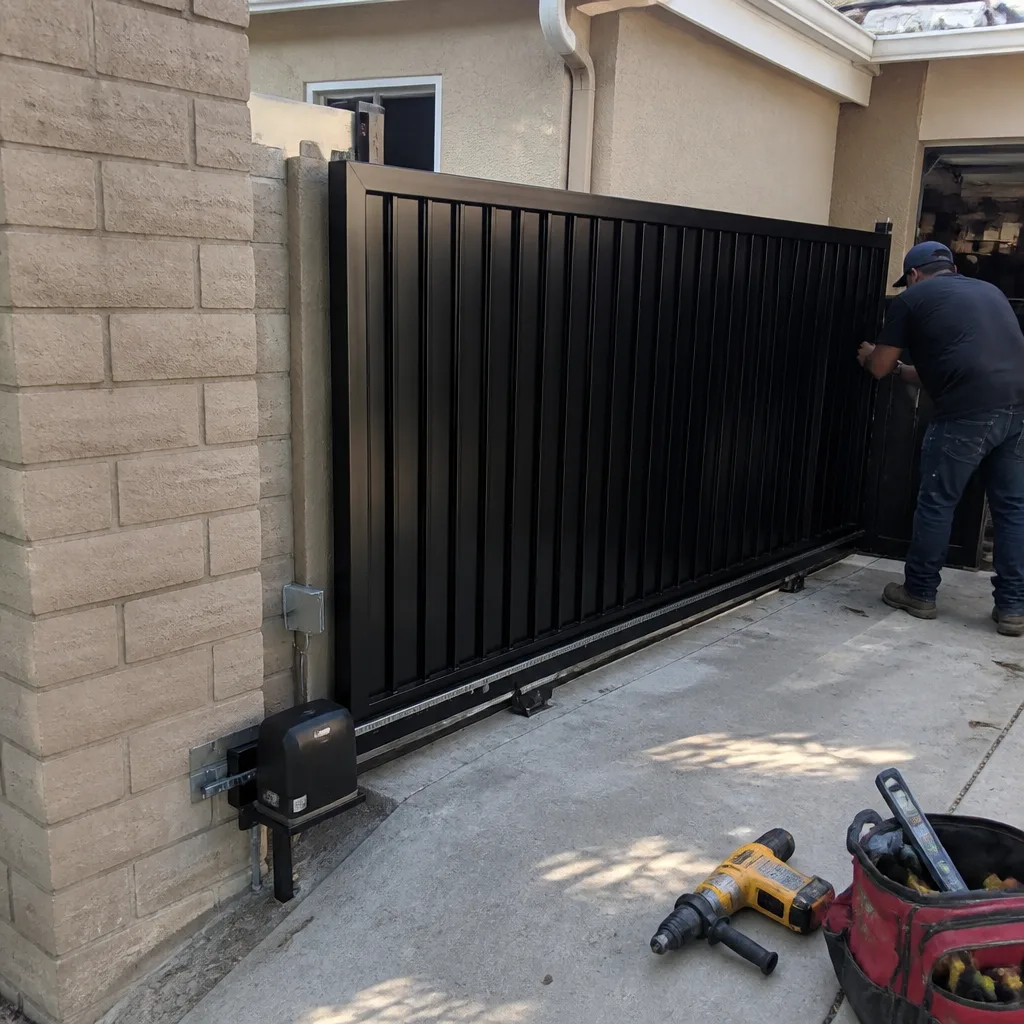 After
After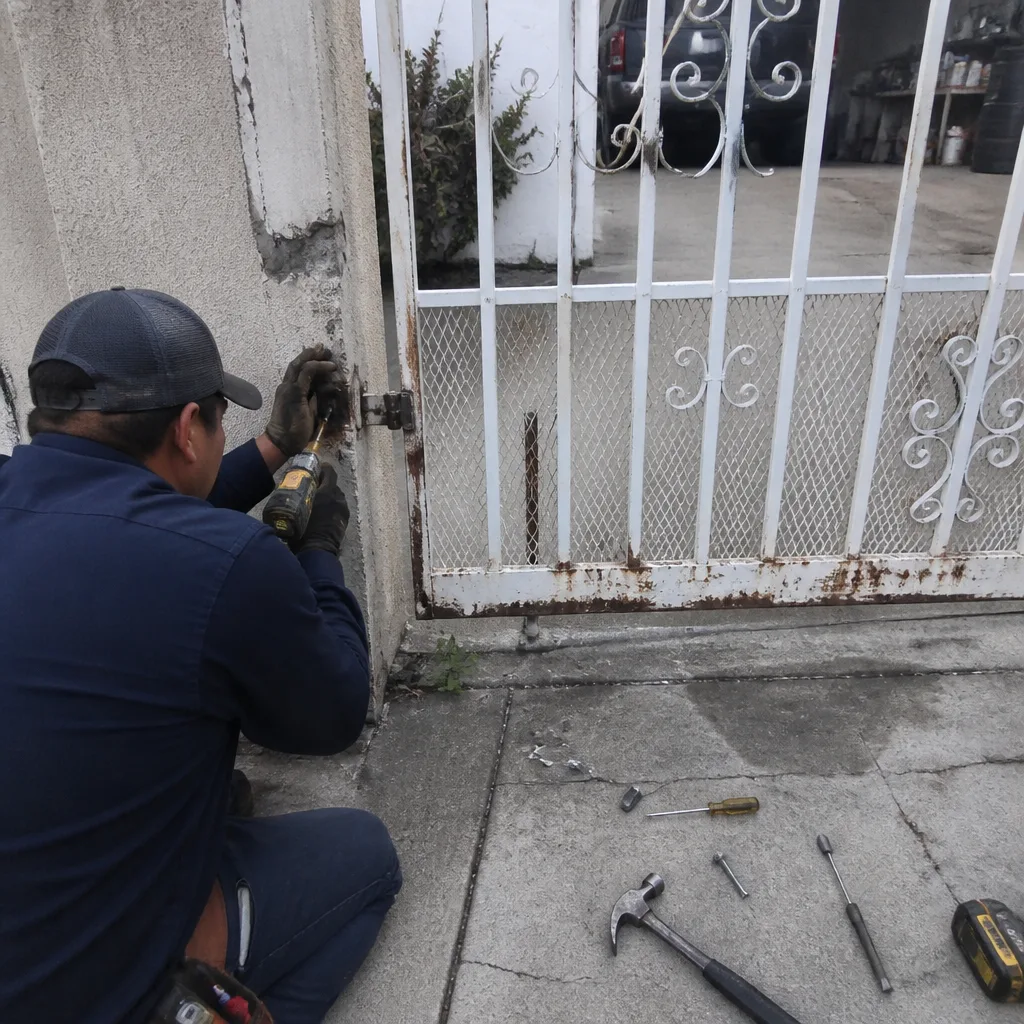 Before
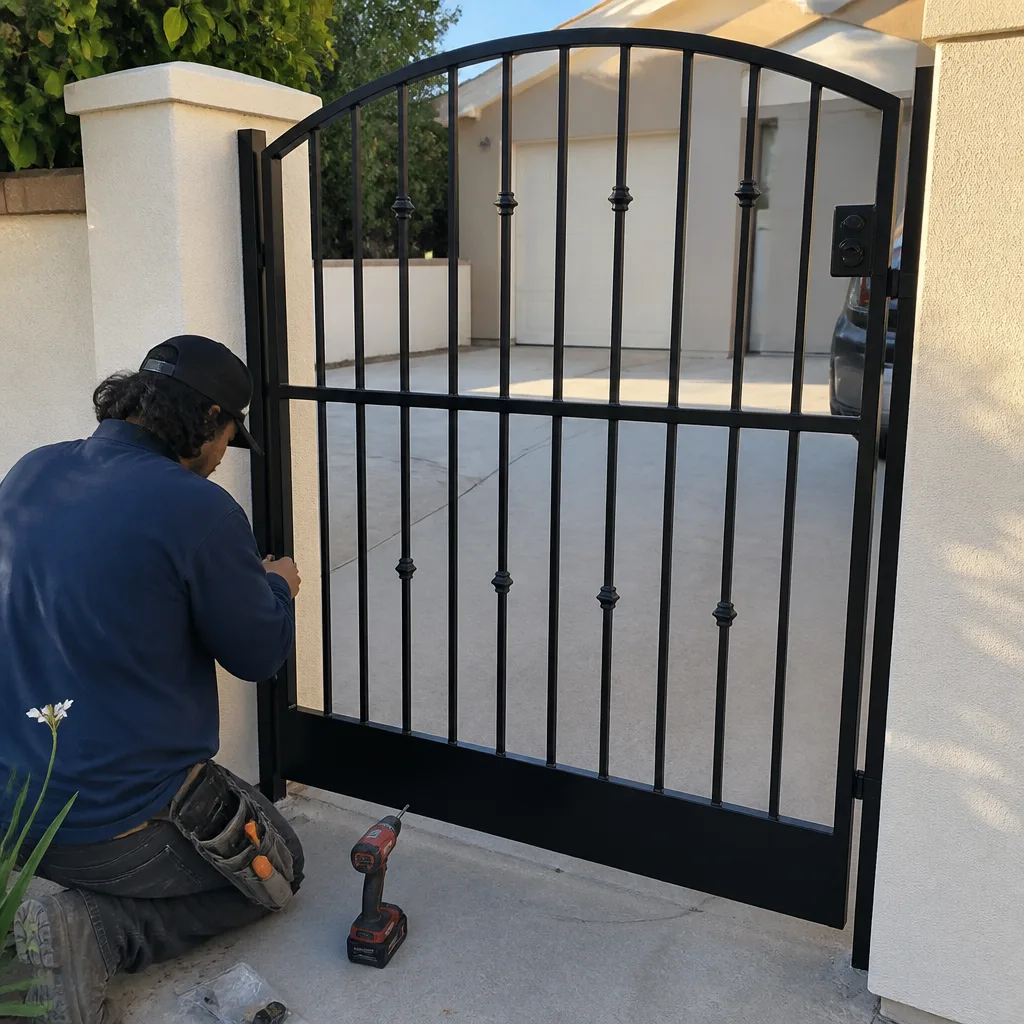 After
After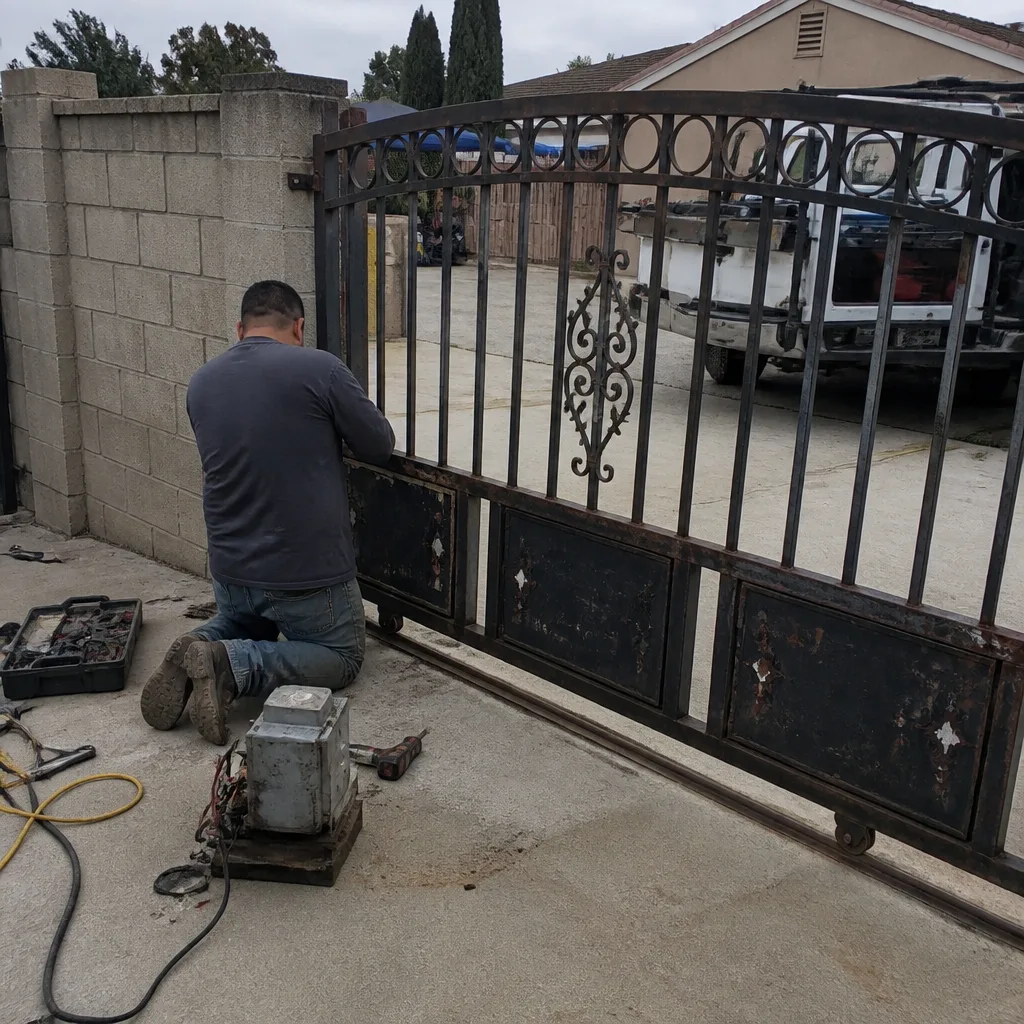 Before
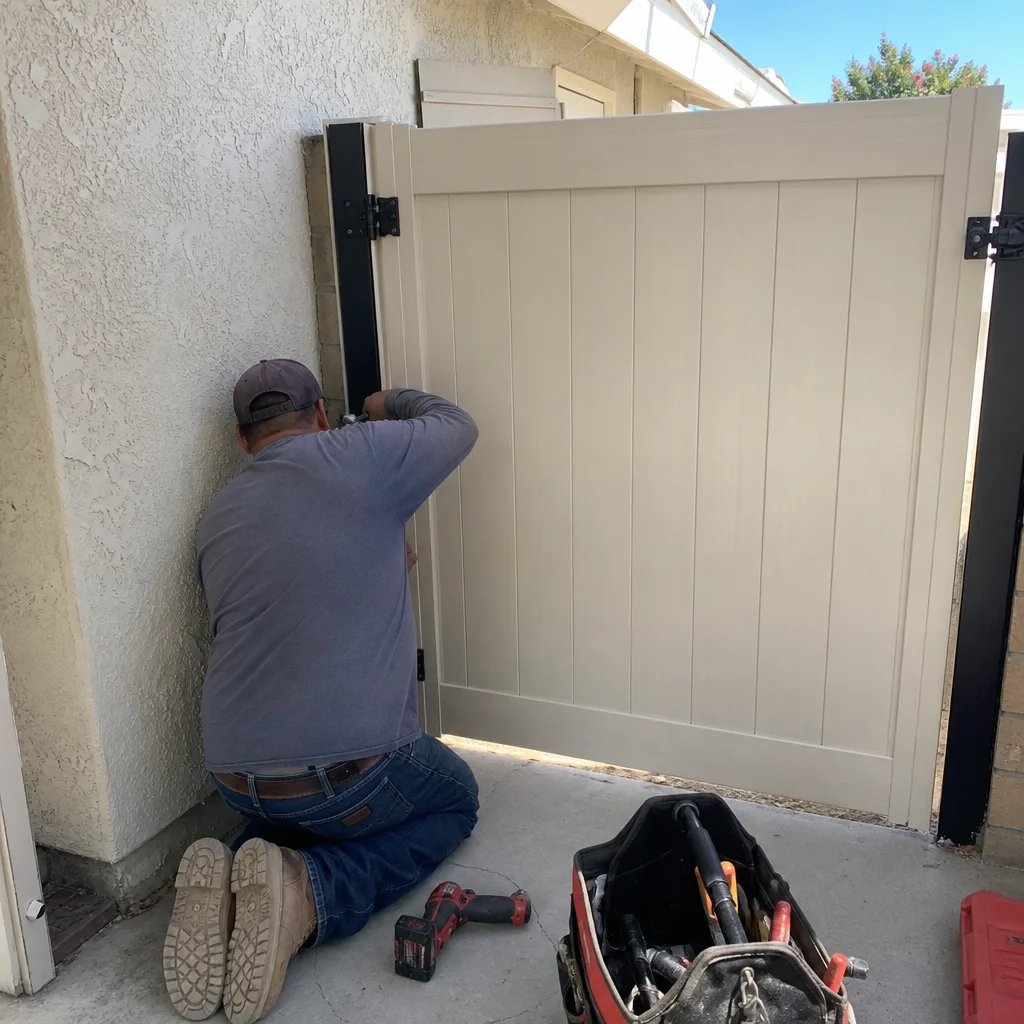 After
AfterGate Repair Maintenance Checklist for Garden Grove Homeowners
Most printed gate maintenance checklists would pass a gate that’s three weeks from failing. They list things to look at, not thresholds to measure. “Check the hinges” tells you nothing. “Hinge pin vertical play under 1/8 inch” tells you whether the gate is still sound or already sagging toward the strike post. This guide replaces vague inspection habits with measurable pass/fail standards, built for the specific conditions Garden Grove gates face: marine-layer humidity that swells wood and corrodes contacts in summer, and Santa Ana wind cycles that load the gate frame and motor differently in fall. You’ll learn which five components cause over 80% of unplanned failures, how to inspect each one in under ten minutes, what to photograph for a year-over-year baseline record, and which jobs belong in a technician’s hands under Gate Repair Permits, Codes & Inspections in CA: What You Need to Know.
Quick Answer
A Garden Grove gate maintenance checklist should measure hinge play under 1/8 inch, chain slack between 1/4 and 1/2 inch at mid-span, and limit-switch travel that stops the gate within one inch of both end stops twice a year, in early spring and late fall, because marine-layer humidity and Santa Ana winds create two distinct seasonal stress windows. The five components that account for over 80% of unplanned gate failures are hinges, the chain or belt, limit switches, photo-eyes, and battery backup. Any homeowner can perform the visual and measurement checks; anything involving spring tension, welded joints, or control-board wiring belongs to a licensed technician.
Table of Contents
- The Five Components That Actually Matter
- The Garden Grove Seasonal Cycle: Why One Annual Checkup Misses Failures
- The Ten-Minute Measurable Inspection
- How to Photograph Your Gate for a Year-Over-Year Baseline
- What a Homeowner Can Do vs. What Requires a Technician
- What a Written Maintenance Record Should Include
- Common Mistakes to Avoid
- When to Call a Professional
BeforeAfterThe Five Components That Actually Matter
In our experience across Vance Gate Repair Garden Grove home service calls, five components account for more than four out of five unplanned driveway gate failures. Everything else on a swing or slide gate is worth a glance. These five are worth a measurement.
- Hinges. On a swing gate, the hinge is the single highest-load point. A gate that weighs 600 pounds puts constant downward shear on two or three hinge assemblies. Vertical play develops slowly, then accelerates. The measurable standard: with the gate closed, lift the leading edge by hand. Total vertical movement should stay under 1/8 inch. More than that means the hinge pin or barrel is wearing, the leaf is sagging, and the motor is now working against a dragging load.
- Chain or belt tension. On slide gates, the chain or belt is what moves the entire mass. Too loose and it can jump the sprocket. Too tight and it loads the motor bearings and shortens service life. The mid-span check: press down on the top run of the chain. Deflection should be between 1/4 and 1/2 inch. Outside that range, tension needs adjustment.
- Limit switches. These are the travel stops that tell the motor where “open” and “closed” are. A limit switch set incorrectly means the gate rams the end stop on every cycle, or stops short and leaves a gap. The measurable standard: the gate should stop within one inch of both end stops, without striking them hard. On a Viking or Ghost Controls operator, a mis-set limit is often the difference between a gate that runs for years and a gearbox that strips in eighteen months.
- Photo-eyes. The infrared beam across the gate path is the primary entrapment-prevention device. A misaligned photo-eye, by as little as two inches, can cause the gate to refuse to close, or worse, to reverse unpredictably. The check: confirm the receiver LED is steady when the beam is aligned, and confirm the gate reverses when you break the beam mid-close.
- Battery backup. Many Garden Grove gates have a battery in the operator cabinet. It’s the component homeowners forget exists until a power outage. A lead-acid battery past its service life will test fine on voltage and fail under load. If the battery is over three years old and hasn’t been load-tested, it should be on the replacement list, not the check-it-again list.
Everything on this list can be measured with a tape measure, a flashlight, and about ten minutes. The point isn’t to inspect more. It’s to inspect against a number.
The Garden Grove Seasonal Cycle: Why One Annual Checkup Misses Failures
Garden Grove sits far enough inland that the marine layer burns off by mid-morning most days, but close enough to the coast that summer nights leave a film of condensation on metal surfaces. That humidity cycle does two things to gate hardware. It accelerates corrosion at every exposed electrical contact, and it swells wood gate leaves, changing the gap between leaf and strike post.
Then the Santa Ana season arrives in October and November. Relative humidity drops, winds load the gate laterally, and wood that swelled all summer now dries and shrinks. A hinge that was tight in August can show measurable play by Thanksgiving because the wood around the lag bolts contracted. A chain that was within spec in June can be slack by November because the gate frame shifted.
The practical implication is that a single annual checkup, regardless of when it’s scheduled, will miss one of these two stress windows. A Gate Repair in Garden Grove schedule built around two touchpoints, early spring and late fall, catches both. The spring check addresses winter rain damage and Chain tension after wet-season ground movement. The fall check addresses summer corrosion and pre-Santa-Ana hinge and limit-switch drift. It’s not twice the work. It’s the same checklist run against two different seasonal failure modes.
For homeowners who want a rule of thumb: if you only do one maintenance pass per year, do it in October. That’s when the two highest-load conditions, summer humidity damage and upcoming wind season, are visible at the same time. But one pass is a compromise, not a standard.
The Ten-Minute Measurable Inspection
Here is the full pass/fail checklist, in order, with the exact measurement or observation that separates a gate that passes from one that needs attention. It requires a tape measure, a flashlight, and a phone for photos.
- Hinge play test. Close the gate fully. Lift the leading edge. Total vertical movement must be under 1/8 inch. Record the reading in a note or photo log. If it’s over 1/8 inch, the gate fails this item, and a hinge or bushing service is in the near future.
- Lateral movement test. Push the leading edge side to side. At the latch point, lateral movement over 1/4 inch means the hinge mounting bolts are loose in the post, the post itself is shifting, or the hinge barrel is worn. None of these self-correct.
- Chain or belt deflection. On a slide gate, press down at the midpoint of the top chain run. Deflection should be 1/4 to 1/2 inch. Record the measurement. If the chain has a master link and visible rust, note that too.
- Limit-switch observation. Run the gate through one full open and close cycle. Watch the end stops. The gate should decelerate and stop within one inch of each stop. A hard stop, a slam, or a two-inch gap all fail.
- Photo-eye check. With the gate open, look at the receiver. The LED should be steady, not blinking. Break the beam with your hand. The LED should change state. Then close the gate and break the beam mid-travel. The gate must reverse.
- Track and roller scan. On a slide gate, run the gate and watch each roller. A roller that skips, chatters, or doesn’t rotate under the track is a failure in progress. A roller that has worn flat on one side needs replacement, not lubrication.
- Battery read. Open the operator cabinet. Look at the battery date code if visible, and look for swelling or terminal corrosion. If it’s past three years and hasn’t been load-tested, schedule that test.
Ten minutes. Seven measurements or observations. Every one has a pass/fail threshold, and every result goes into the same photo or written record so the next check has something to compare against. That record is the part most checklists skip, and it’s the part that makes the checklist useful a year from now.
For reference, on a DoorKing or Elite slide operator, the limit-switch mechanism may be a magnetic or mechanical switch inside the cabinet rather than visible at the track end. The observation is the same: the gate stops within one inch of the mechanical stop, every cycle, under the same load.
How to Photograph Your Gate for a Year-Over-Year Baseline
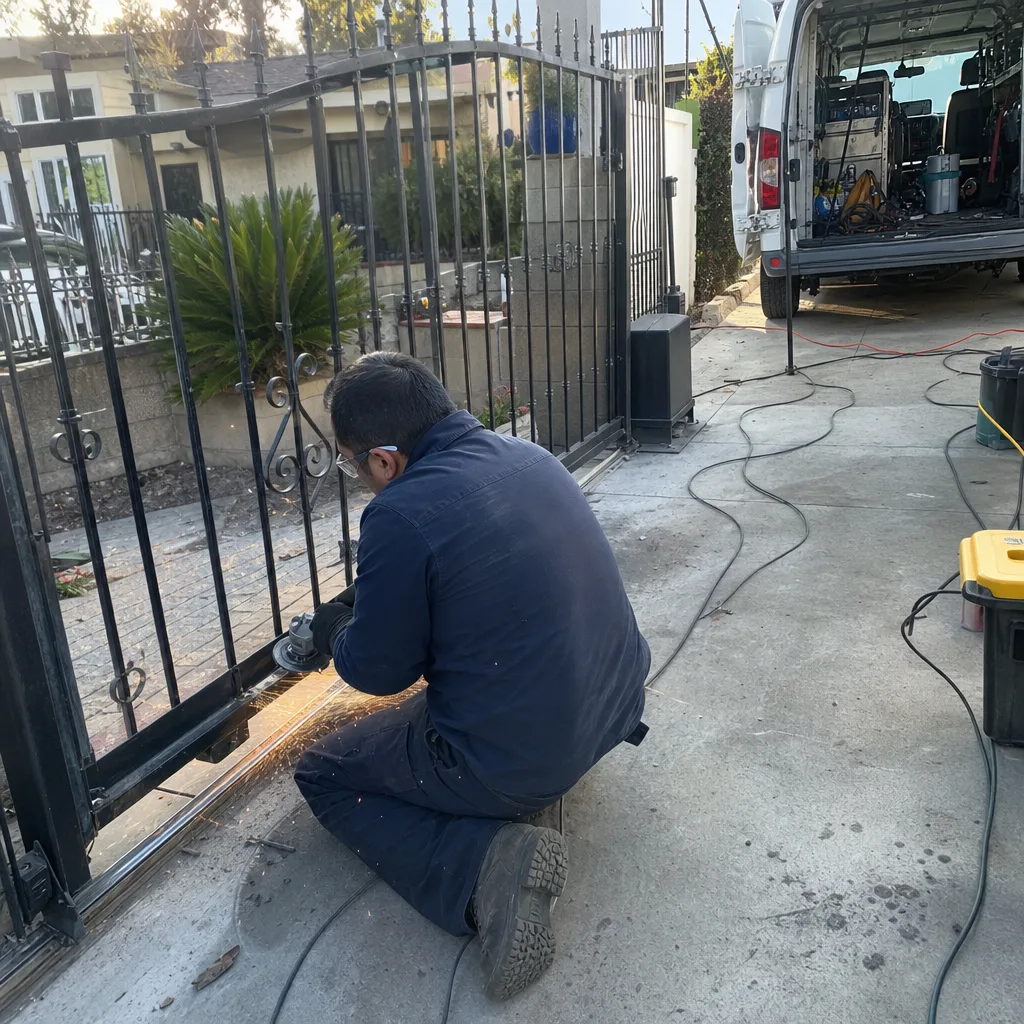
A maintenance record without photos is a memory. A photo record without the same angle and distance every time is a scrapbook. The value of a gate photo log comes from consistency, so the same crack in the post, the same rust bloom on a hinge, or the same droop in a chain is visible against a reference point six or twelve months later.
The photo set we take on every service visit, and that a homeowner can replicate in ten minutes, has five shots.
- Full gate, closed, from 15 feet back. Stand directly in front of the gate, not at an angle. This is the overall-geometry reference. Sag at the hinge side shows up here as a change in the gap between gate leaf and top rail.
- Hinge close-up, 12 inches. Capture the hinge barrel, the pin, and the mounting plate. Use the same distance every time. Rust progression and bolt movement are visible across a year of identical shots.
- Chain or belt, mid-span, 12 inches. Include a fixed reference point in frame, like a track bolt or a weld bead, so chain position can be compared shot to shot.
- Operator cabinet interior. Wide enough to show the control board, battery, and wire routing. Water intrusion, corrosion, and insect debris all show up here first.
- Photo-eye pair. One photo of the transmitter, one of the receiver, from the same height. Alignment drift is visible across photos, and so is lens clouding from UV exposure.
Store the photos in a folder named with the date. That’s the entire system. A year later, open the old file next to the new one, and wear that’s invisible to the naked eye in the moment becomes obvious in comparison. This is the same documentation habit we bring to every Gate Installation in Garden Grove and repair visit: a photo log of what was found, what was set, and what was installed, left with the homeowner and filed in the job record.
No special camera. A modern phone in daylight is enough. The consistency of angle and distance matters more than the resolution.
What a Homeowner Can Do vs. What Requires a Technician
California access-control safety standards, and the physics of the hardware, draw a clear line between maintenance and repair. Crossing that line without the right training is how a four-hour maintenance job becomes a gate that comes off its track or a spring that releases stored energy into a hand.
Safe homeowner tasks:
- All seven items on the ten-minute inspection checklist.
- Cleaning photo-eye lenses with a dry cloth.
- Removing debris from the track and roller path.
- Lubricating hinges with a light machine oil, if and only if the hinge has an exposed pin and no load-bearing plastic bushing.
- Photographing the gate for a baseline record.
- Tightening visible, accessible bolts that are clearly loose, provided the gate is blocked open and the tool is the correct size.
Tasks that require a trained technician:
- Any work on a gate spring, counterbalance, or tension system. Stored energy in a wound spring doesn’t announce itself before it releases.
- Any adjustment of limit switches inside the operator cabinet while the operator is powered. A wrong move here can disable an entrapment-prevention device without anyone noticing until the gate closes on something.
- Chain or belt replacement on a slide gate. The chain is under tension. Dropping it wrong can whip the chain or shift the sprocket alignment.
- Any wiring work, including photo-eye rewiring, control-board replacement, or battery replacement on a unit that doesn’t have a plug-in harness.
- Welding or post repair. A gate post that’s shifted or cracked is a structural problem, not a maintenance item.
The rule of thumb we use with homeowners: if the task involves stored energy, wiring, or anything that would hurt if it let go, it’s a service call. If it’s a measurement, a photo, or a wipe-down, do it yourself and write it down.
What a Written Maintenance Record Should Include
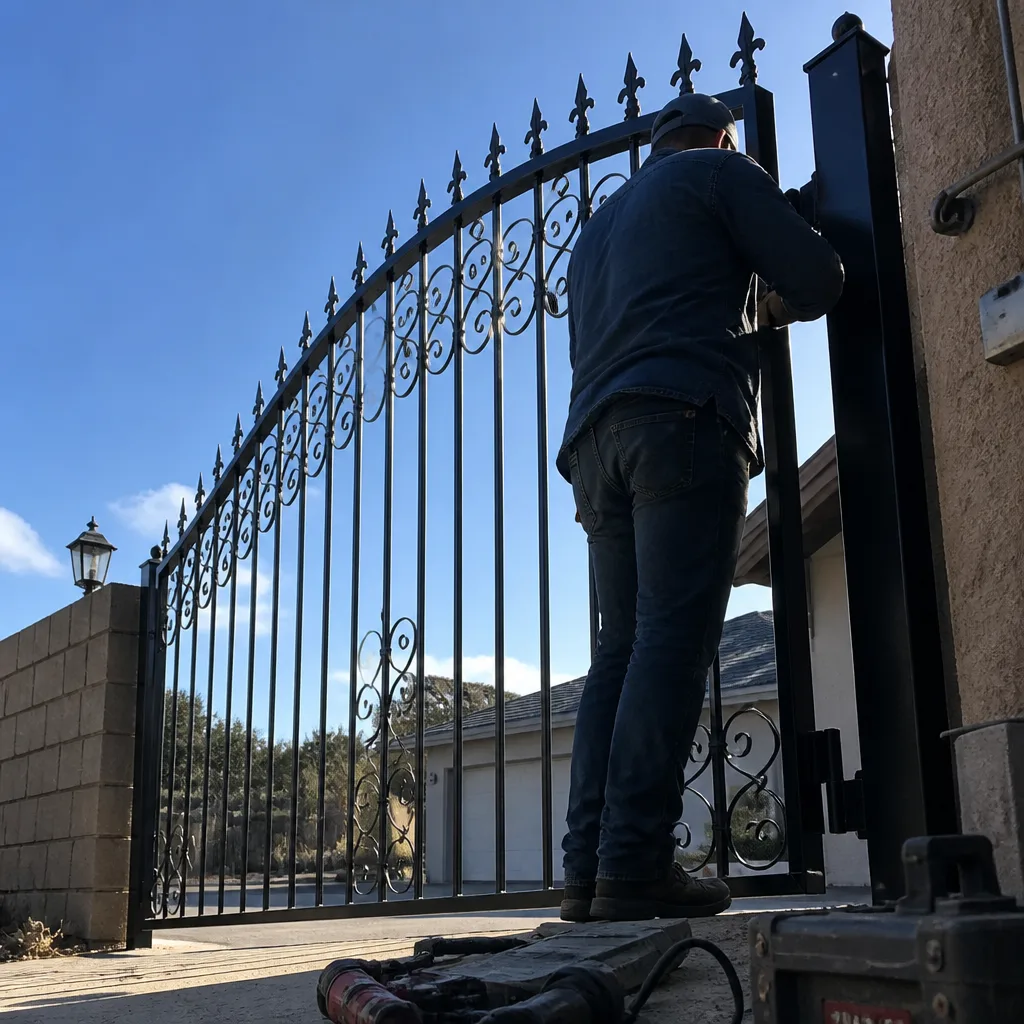
A maintenance record that only says “gate checked, looks good” has no value when something fails and the homeowner asks what happened. The record should be specific enough that a future technician, a year later, could reconstruct what was measured and what was done. That’s the difference between a note and a document.
The minimum useful entry has five fields:
- Date and time of the check. Seasonal context matters in Garden Grove. A check in March and a check in October are different events.
- The seven inspection readings. Hinge play, lateral movement, chain deflection, limit-stop behavior, photo-eye state, roller condition, battery status. Written as numbers or pass/fail, not adjectives.
- Anything corrected or serviced. If a limit switch was reset, write the before and after position. If a roller was replaced, write the part number.
- Photo file reference. Where the date-stamped photos are stored.
- Next recommended action and date. “Chain slack at 3/4 inch, adjust by June” gives the next check something specific to verify.
This is the same structure we use on every service visit, including all Gate Motor & Opener in Garden Grove work. Before we leave, the homeowner gets a written record of the part number installed, the readings we found, and a photo log of every adjustment. No future technician has to guess. No homeowner pays twice to rediscover the same problem. That record is the whole point of a checklist.
Common Mistakes to Avoid
- Lubricating a sealed bearing or plastic bushing. Lubricant on a sealed component attracts dust and accelerates wear. If the hinge doesn’t have an exposed pin, leave it dry.
- Ignoring a gate that still works. The most expensive slide-gate failures we see in Garden Grove start with a chain that ran slack for a year and jumped the sprocket under a Santa Ana wind load. The gate worked fine until it didn’t.
- Using a pressure washer on the operator cabinet or photo-eyes. Water forced into an enclosure that’s only rated for rain exposure causes corrosion that takes months to show up as a fault.
- Oiling a chain as a substitute for checking tension. A well-oiled slack chain is still a slack chain. Lubrication doesn’t correct deflection.
- Resetting a tripped breaker without finding the trip cause. A gate operator that trips its breaker once is a symptom. Twice is a pattern. Three times is a component failure waiting to strand the gate open or closed.
- Photographing from a different angle every time. A baseline photo only works if the next photo is from the same distance and position. Otherwise the comparison is meaningless.
When to Call a Professional
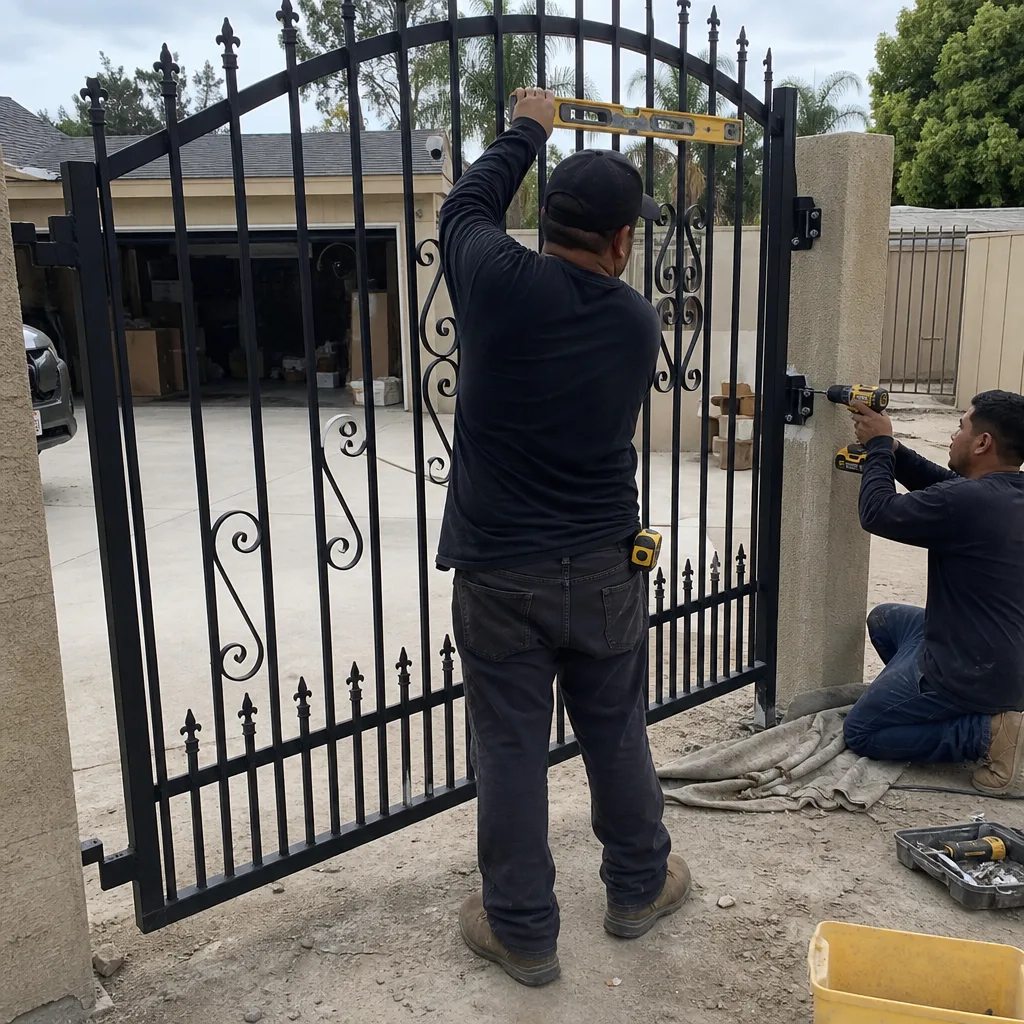
Some conditions shouldn’t wait for the next maintenance pass. A gate that slams at the end stop, a photo-eye that won’t hold alignment, a motor that hums but doesn’t move the gate, a hinge with visible vertical drop, or any electrical smoke or burning smell are all same-week service calls. A gate that’s stuck open is an immediate call, because an open gate is a security hole regardless of what the rest of the property looks like. If the gate is stuck closed and blocking vehicle access, that’s an emergency. We service Viking, Ghost Controls, and DoorKing operators, and every visit leaves a written record of what was found and what was fixed. Vance Gate Repair Garden Grove offers Gate Repair services with free estimates in Garden Grove, call (657) 837-6867.
Frequently Asked Questions
Twice a year, in early spring and late fall. The spring pass addresses winter rain damage and ground movement, and the fall pass addresses summer marine-layer corrosion and pre-Santa-Ana wind loading. One annual checkup misses one of these two seasonal failure windows.
A maintenance inspection visit in Garden Grove typically runs between $95 and $175 depending on the gate type and the number of operators, with any needed adjustments or repairs quoted in writing before work starts. The quoted price is the price, no surprise invoice at the end.
More than 1/2 inch of deflection at mid-span is out of spec. Between 1/4 and 1/2 inch is the operating range. Beyond 1/2 inch, the chain can jump the sprocket under load, especially in high wind.
If the battery is a plug-in harness type and you’re comfortable working with a 12-volt system, yes. If the battery is hardwired to the control board, or if you’re not sure what type it is, leave it to a technician. A shorted battery connection can damage the control board, and that’s a more expensive repair than the battery itself.
That’s thermal expansion. A steel gate in direct Garden Grove afternoon sun can grow enough along its length to change the clearance at the strike post or the track alignment. If it binds consistently in heat, the problem is usually clearance that was set too tight during the last installation or service.
It does. A documented maintenance history, with dated readings and repair records, tells a buyer that the gate was cared for and that the operator isn’t an undisclosed liability. It’s the same logic as a maintenance log on a car. The paper is worth more than the memory.
The Bottom Line
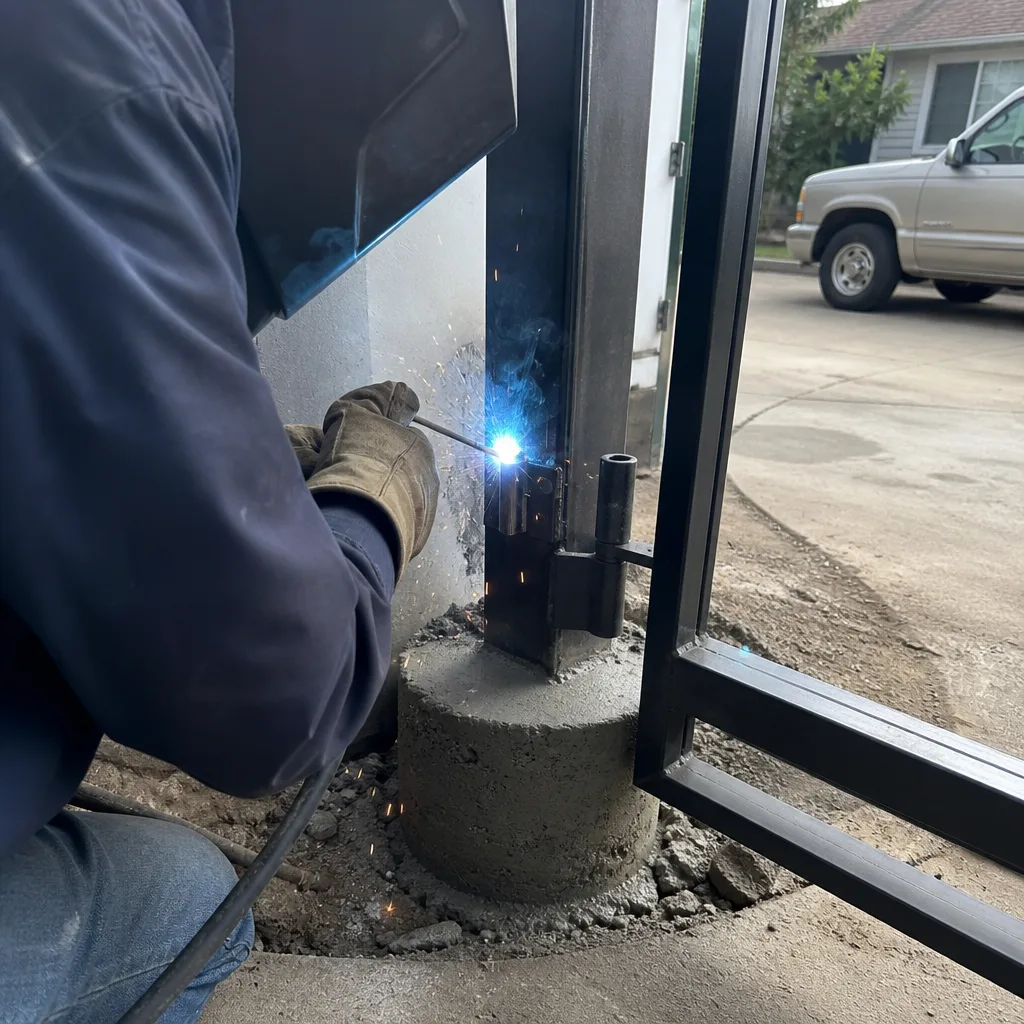
A gate maintenance checklist works when it measures something. Hinge play under 1/8 inch, chain deflection between 1/4 and 1/2 inch, limit stops within one inch of the end stops, photo-eyes that reverse the gate mid-close, and a battery that’s load-tested past its third year. Run that list twice a year in Garden Grove, photograph it the same way every time, and keep the written record where you keep the house documents. If a measurement fails, or if a task involves stored energy or wiring, the next step is a phone call, not a wrench. That’s the whole system.
Written by Adrian Vance, Owner at Vance Gate Repair Garden Grove, serving Garden Grove since 2014.