
Last updated September 20, 2026
Free on-site gate assessment - hinges, posts, and your LiftMaster or Nice gate operator checked before anything is quoted
The assessment is free and the quote is the invoice.

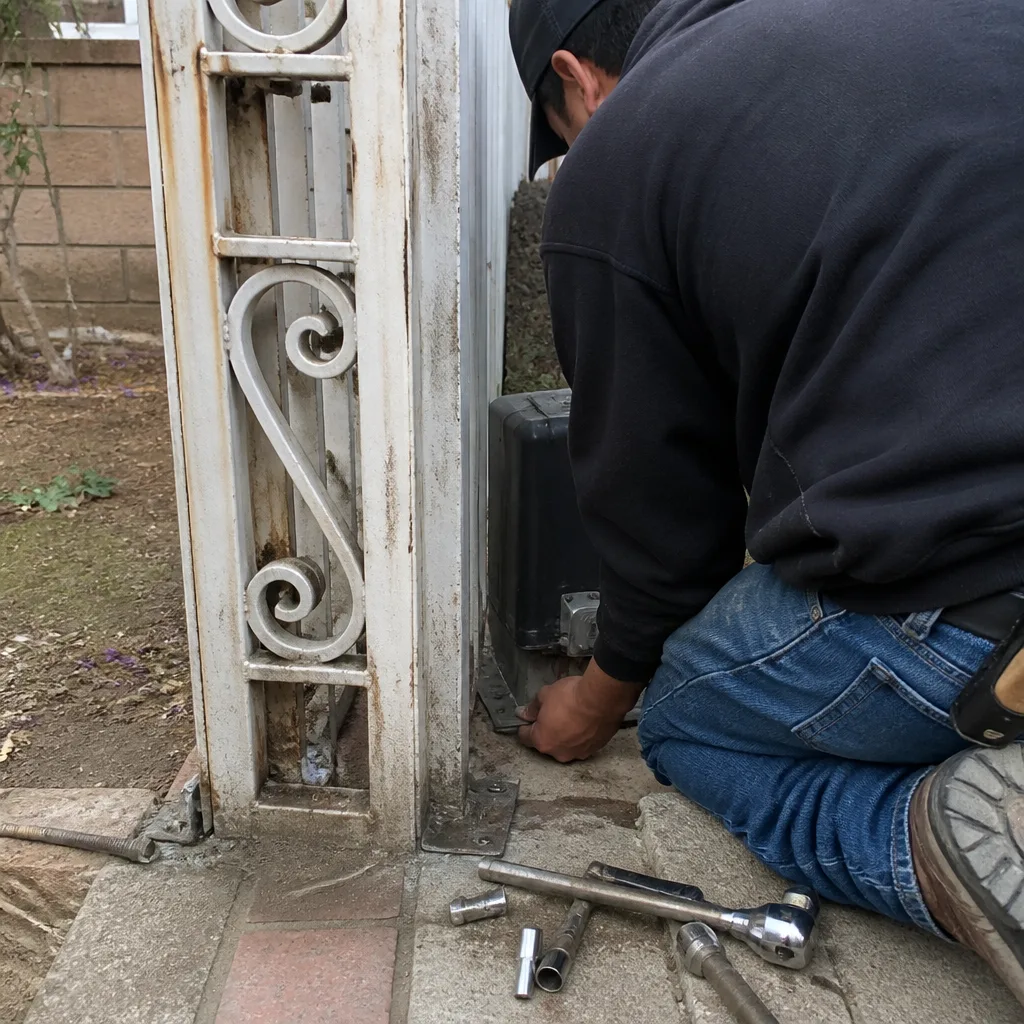 Before
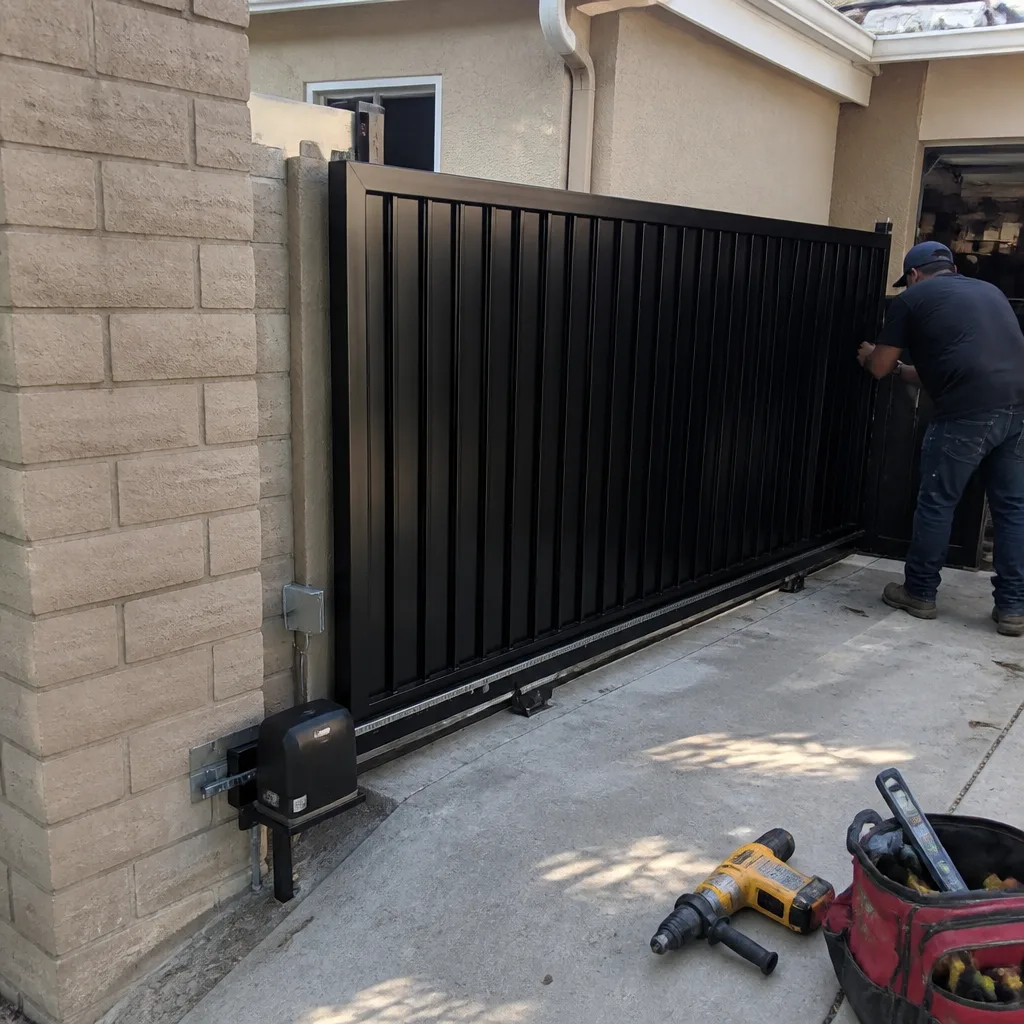 After
After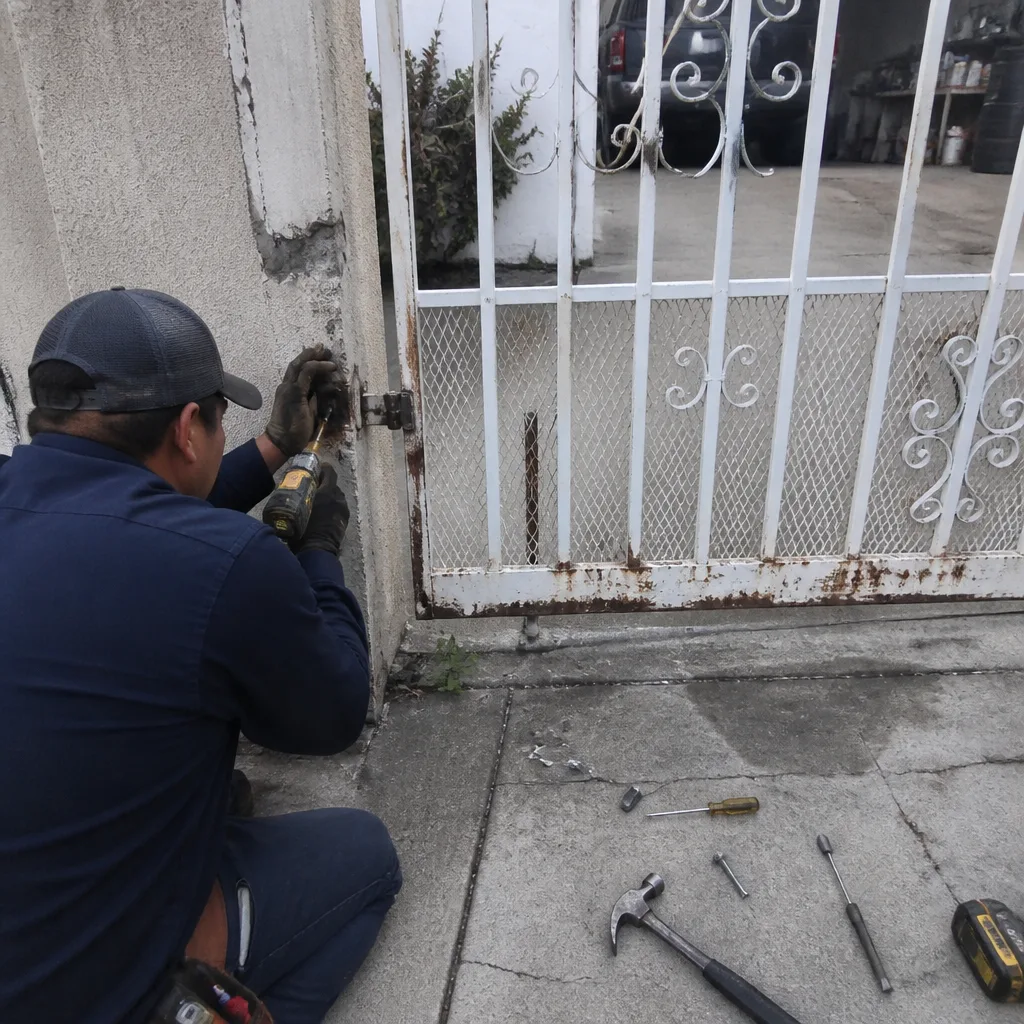 Before
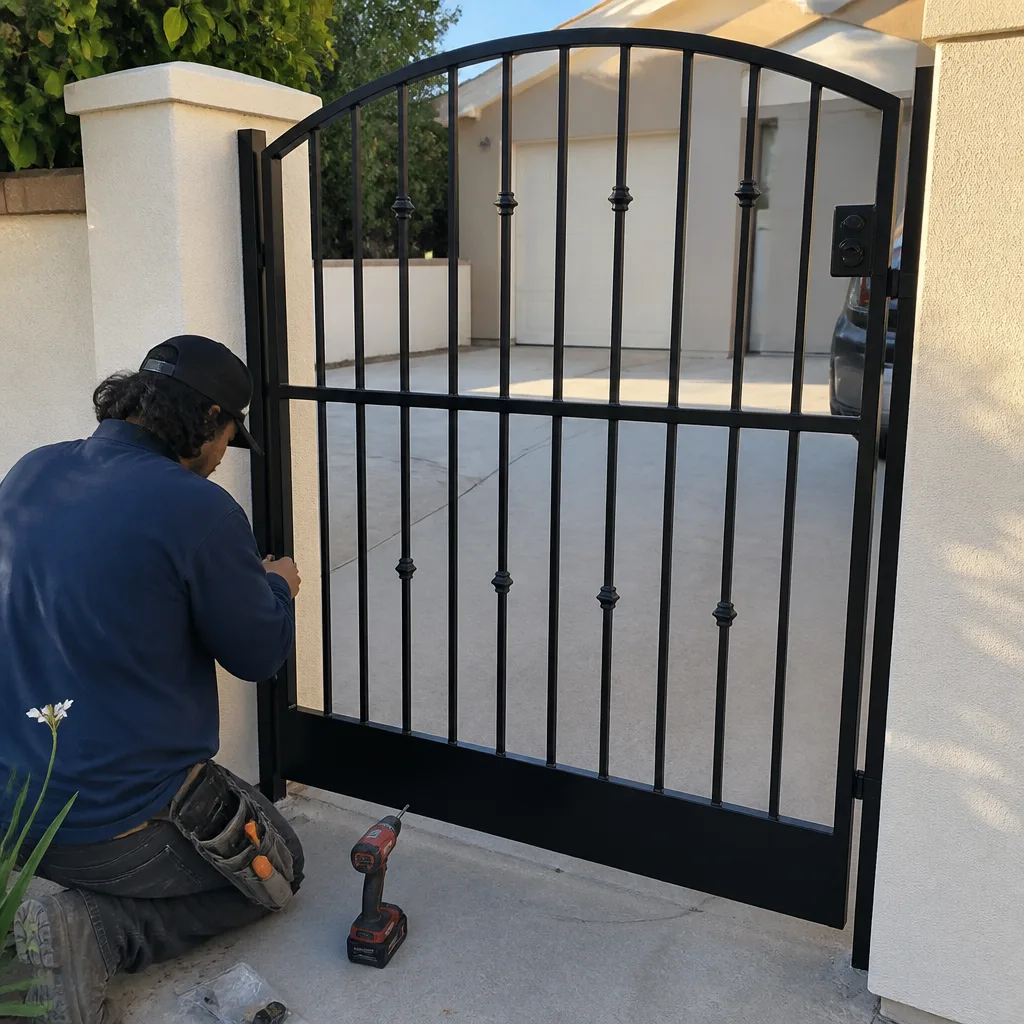 After
After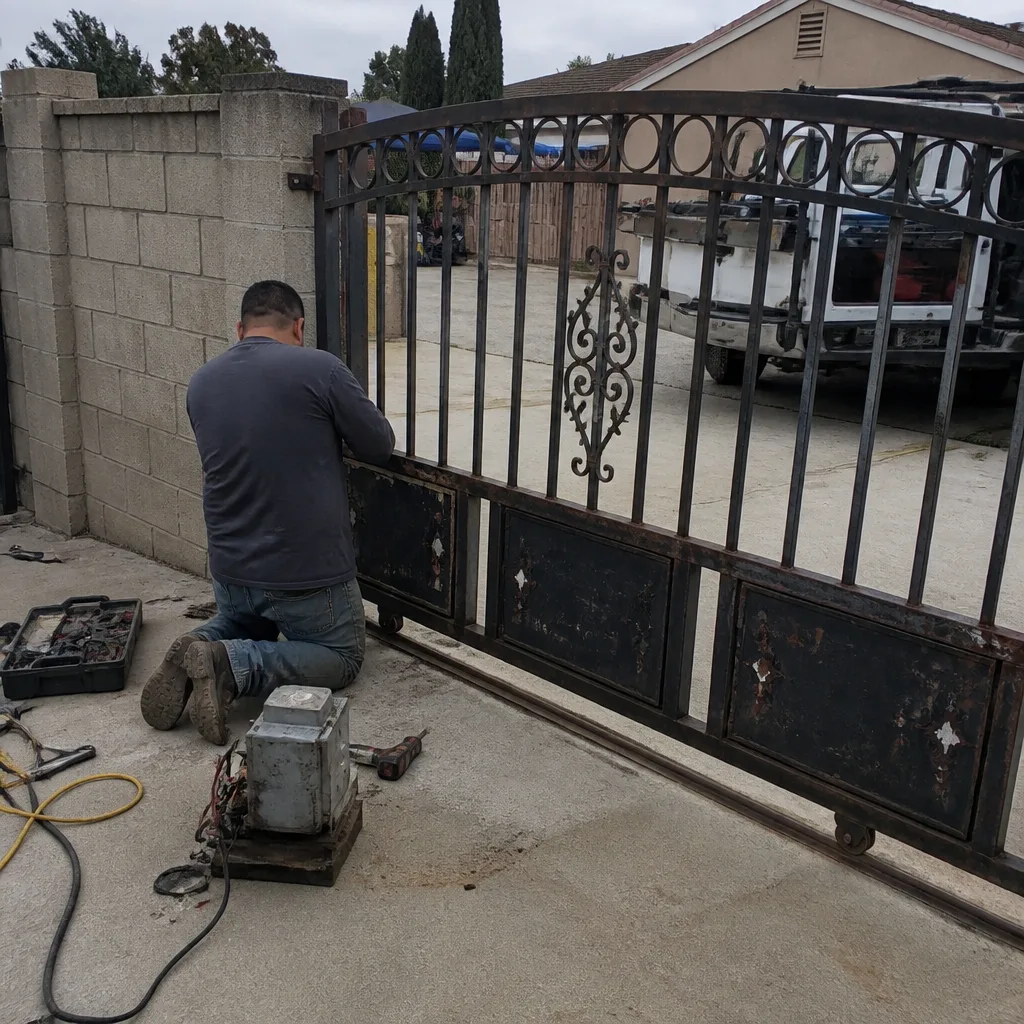 Before
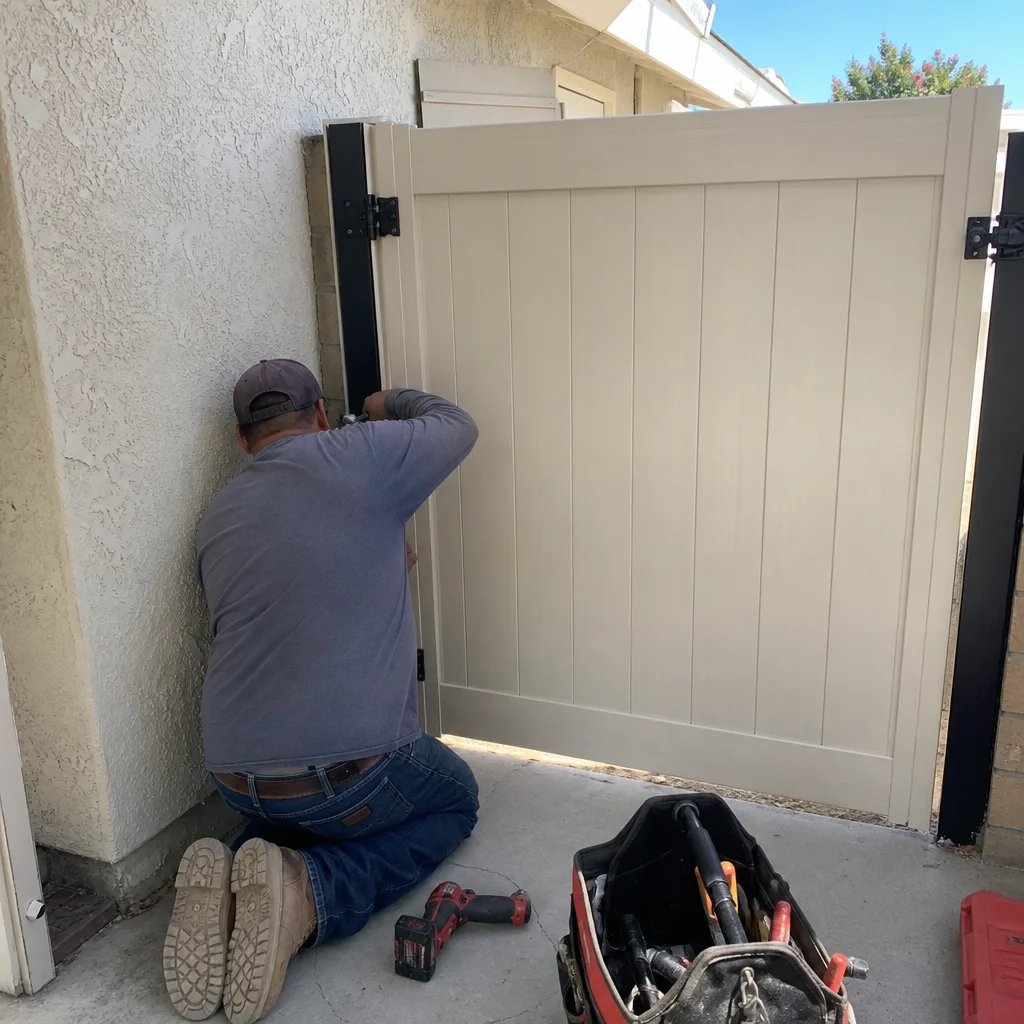 After
AfterDIY vs Professional Gate Repair: The Garden Grove Homeowner’s Decision Guide
Every gate in Garden Grove eventually needs work. The question isn’t whether your gate will fail; it’s whether the failure arrives as a sagging hinge, a dead motor, a shattered weld, or a gate that no longer reverses when it hits something. What surprises most homeowners isn’t the repair itself, it’s the realization that some five-dollar fixes carry five-figure liability, while some terrifying failures are genuinely safe to correct with a socket set and an hour of daylight. This guide draws the line by task, not by gate type, and we’ll be specific about what that means on a Garden Grove property, including our Gate Repair Maintenance Checklist for Garden Grove Homeowners: the soil movement, the salt air, the wind loads, and the California codes that quietly decide what you’re allowed to touch.
Quick Answer
Most homeowners should handle three gate tasks themselves: visual inspections, light lubrication and cleaning, and cosmetic fixes like tightening loose gate hardware that carries no load. Most homeowners should never touch safety sensors, gate operator internals, or load-bearing hinge replacement, because those tasks carry injury risk, UL 325 compliance requirements, and warranty-voidance clauses that can make a “free” DIY repair the most expensive option on the table. In Garden Grove, the practical dividing line is this: if the part you’re touching influences how the gate stops, reverses, or bears weight, call a licensed gate professional before you pick up the tool.
Table of Contents
- Why DIY Gate Repair Fails More Often Than People Expect
- The Task-Level Matrix: What a Homeowner Can Legally and Safely Do
- Warranty Language: The Fine Print That Voids Coverage
- The Documentation Gap: What DIY Repairs Leave Behind
- The True Cost of a DIY Gate Repair in Garden Grove
- The Three Gate Tasks Where DIY Is Unambiguously the Right Call
- Common Mistakes to Avoid
- When to Call a Professional
- Frequently Asked Questions
- The Bottom Line
BeforeAfterWhy DIY Gate Repair Fails More Often Than People Expect
A homeowner who replaces their own gate hinge saved $80 in labor. A homeowner who adjusts their own entrapment-protection sensor and then has the gate injure a child has just voided their homeowner’s insurance and handed the other party’s attorney a gift. That’s the entire DIY-versus-professional conversation compressed into two sentences. The failure isn’t skill. Plenty of Garden Grove homeowners are mechanically capable. The failure is classification: knowing which repairs are mechanically simple versus which are legally and actuarially loaded.
Garden Grove properties add their own complications. The soil here is a mix of sandy loam and clay that shifts with winter rains and summer drought cycles. Gate posts that were plumb in 2019 may be leaning by half a degree in 2026, and that half-degree changes how the gate’s weight distributes across the hinges. Coastal wind gusts off the Pacific, funneling through the 22 and 405 corridors, apply lateral loads that inland gates never experience. A homeowner who replaces a hinge without checking post alignment will be back under the gate in eight months, convinced the hardware failed when the foundation was the problem all along.
Then there’s the electrical side. Gate operators installed on Garden Grove homes run on 12-volt or 24-volt DC systems controlled by circuit boards that read inputs from photo-eyes, edge sensors, and limit switches. Those boards are not forgiving. A crossed wire that would simply not work on a garage door opener can destroy a gate control board in under a second. We’ve replaced enough fried boards on Garden Grove gate motors to recognize the signature: the homeowner watched a YouTube video, connected the wrong lead, and the board released its smoke.
The Task-Level Matrix: What a Homeowner Can Legally and Safely Do
California law doesn’t require a license to work on your own property in most cases, but it absolutely requires compliance with UL 325, the national safety standard for automated gate systems. UL 325 is not optional, and it applies whether a licensed technician or a homeowner performed the work. That’s the legal line most DIY guides ignore. You can legally replace your own gate hinge. You cannot legally leave an automated gate without functioning entrapment protection, regardless of who disconnected it. Here’s the matrix by task category.
Safe and Reasonable for a Competent Homeowner
- Visual inspection of hinges, welds, posts, wheels, and chain tension
- Cleaning guide tracks and removing debris from wheel paths
- Lubricating hinges and rollers with a lithium-based grease
- Tightening loose bolts on non-load-bearing brackets and covers
- Replacing batteries in keypads, remotes, and wireless sensors
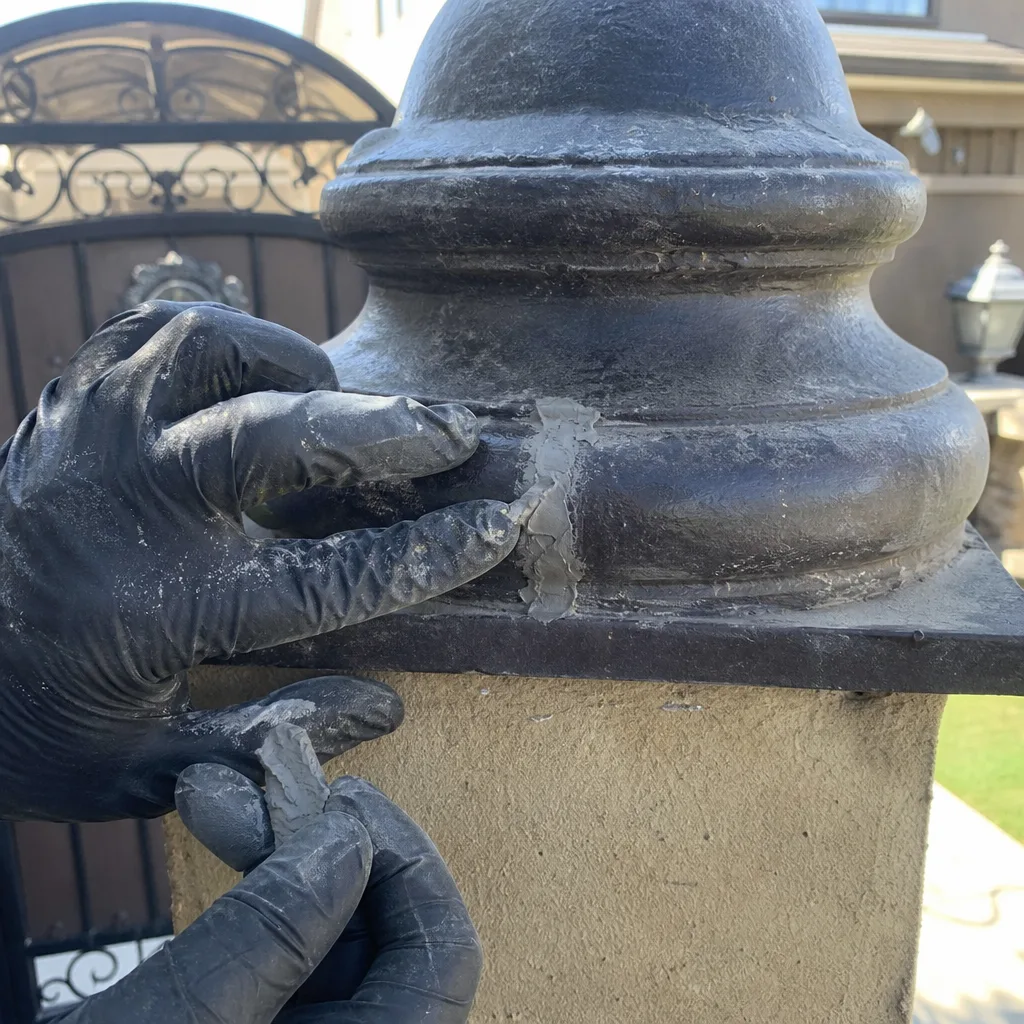
- Painting or sealing exposed steel to slow corrosion
Borderline: Proceed Only with Research and Caution
- Replacing a wheel or roller on a sliding gate if you can safely support the gate’s weight
- Adjusting chain tension on a slide gate operator
- Replacing a keypad or photo-eye that plugs into an existing harness
- Re-setting a tripped GFCI breaker
Do Not DIY: Call a Licensed Professional
- Replacing or adjusting torsion springs on a swing gate
- Replacing load-bearing hinges or hinge brackets
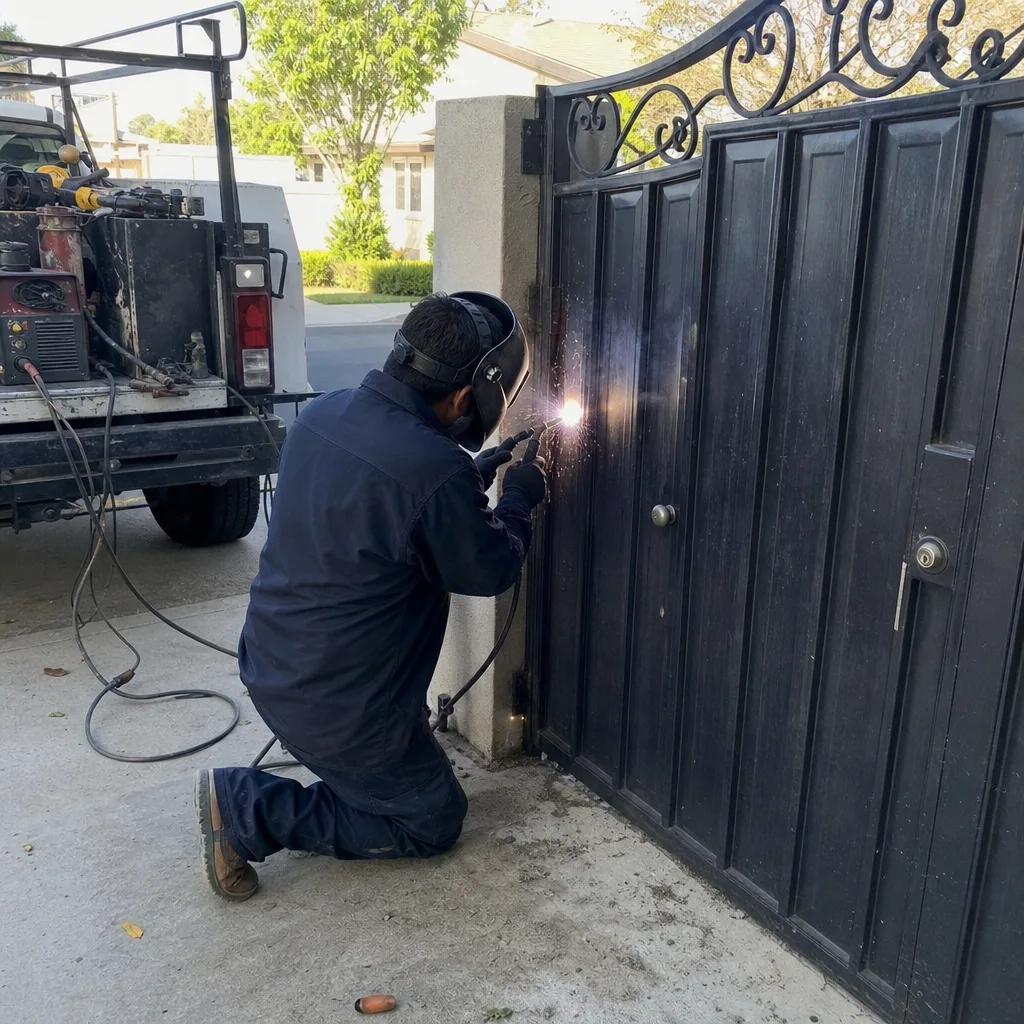
- Welding or repairing broken gate frames
- Replacing a gate operator motor or control board
- Adjusting, bypassing, or relocating any entrapment-protection sensor
- Repairing underground conduit or line-voltage supply wiring
The pattern is easy to spot once you see it. The safe tasks are external, visible, and reversible. The dangerous tasks involve stored energy, structural load, or safety circuits. If the gate can fall on you, if a spring can release into your face, or if a sensor failure can hurt someone else, the task crosses the line.
Warranty Language: The Fine Print That Voids Coverage
Major gate operator manufacturers write warranty clauses with language most homeowners never read. We’re not exaggerating when we say that a single owner-performed adjustment to a safety circuit can void a warranty worth hundreds of dollars. The language is specific, and it’s consistent across the brands installed throughout Garden Grove.
LiftMaster’s residential gate operator warranty excludes damage “caused by unauthorized modifications, adjustments, or repairs performed by anyone other than a qualified installer.” That means a homeowner who opens the control board cover, adjusts a limit setting, and later has the board fail may find the warranty claim denied because the manufacturer cannot verify the adjustment was done correctly. FAAC’s warranty language contains a similar exclusion for “interventions by personnel not authorized by FAAC.” Elite and Mighty Mule documents carry equivalent clauses. The pattern is industry-wide.
The critical phrase is “safety-critical components.” Manufacturers distinguish between cosmetic parts and safety components. Replacing a remote control battery voids nothing. Adjusting the force-sensing circuit or the photo-eye alignment without documentation may void coverage on the entire operator. The logic is defensible: a gate operator that fails to reverse under obstruction can kill someone, and the manufacturer cannot warranty a product whose safety systems were altered by an unverified hand.
Our technicians service all nine major gate automation brands, including LiftMaster, FAAC, Elite, and Mighty Mule. One of the most common calls we receive is a homeowner who attempted a board-level repair, voided the warranty, and then needed a full replacement at retail price. For more on what these repairs actually cost, see our Gate Repair Cost Breakdown: The Garden Grove Homeowner’s Reference for 2026. The repair might have cost $180 under warranty. The replacement cost $600. The DIY savings were negative from the start.
The Documentation Gap: What DIY Repairs Leave Behind
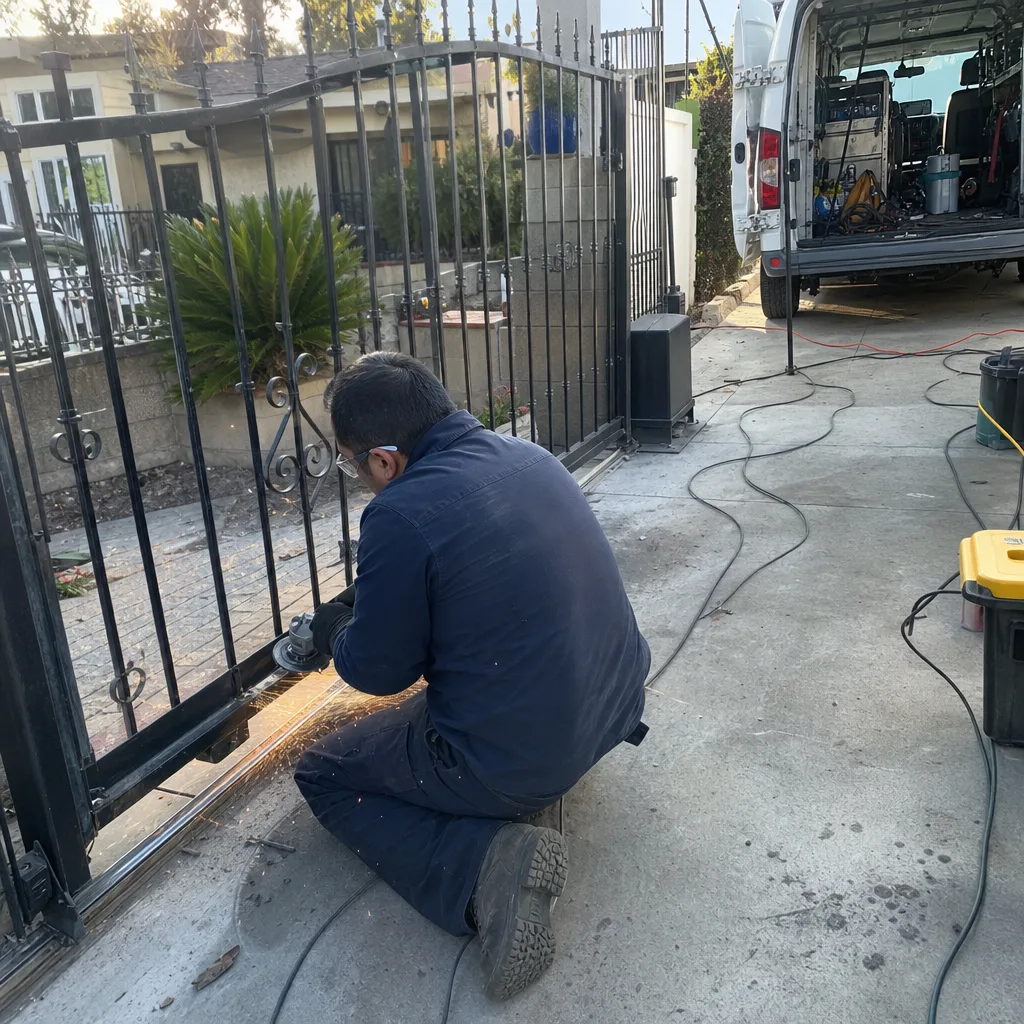
Here’s something most DIY-versus-professional guides don’t address: the documentation gap. When a licensed gate professional completes a repair, the job produces a record. Wire routing, limit-switch positions, torque settings, part numbers, photographic evidence. When a homeowner completes a repair, the job produces nothing. No wiring diagram. No photo log. No record of what was adjusted or why.
That gap has a cost, and you’ll pay it on the next service visit. A technician arriving at a gate that someone else repaired has to reverse-engineer the system before diagnosing any new problem. That’s diagnostic time on the invoice. Worse, if the previous repair was the problem, the technician has to undo unknown work before any forward progress is possible. Homeowners pay twice: once for the DIY repair that didn’t hold, and again for the professional hours required to reconstruct what the homeowner did.
At Vance Gate Repair Garden Grove, our Gate Repair services include a documented photo record with every visit: what was found, what was adjusted, what was installed. The homeowner receives that record, and it’s filed in the job history. The next visit starts with context instead of guesswork. The wiring-diagram habit comes directly from Adrian Vance’s commercial access-control work, where documentation is standard practice and the absence of it is a liability. Residential gates deserve the same standard.
The True Cost of a DIY Gate Repair in Garden Grove
The honest math on DIY gate repair includes three lines most people skip: parts markup at retail, time at your own hourly worth, and the probability of a follow-up professional call. Let’s run through a realistic example from a Garden Grove swing gate.
Say a hinge bracket breaks. The homeowner finds a replacement bracket online for $35. The same bracket from a gate supply house in Orange County costs a contractor $28. The homeowner spends two hours at the hardware store and under the gate, and the repair fails in three months because the post had shifted and the new bracket was misaligned. The homeowner calls a professional. The professional spends 30 minutes diagnosing, 90 minutes correcting the post alignment and reinstalling the bracket, and leaves a written record. Invoice: $240. Total homeowner cost: $275 and four months of a sagging gate. Professional-only route: $240 and the gate was fixed in one afternoon.
Time has a value. If you bill your own time at $60 an hour, which is conservative for many Garden Grove professionals, three hours of your own labor is $180. When the parts cost $35 and the professional would have charged $240 all-in, the DIY savings are theoretical.
Then there’s the probability factor. Gate repair in Garden Grove follows a pattern: simple external fixes succeed at high rates when the problem is external and simple. Any repair involving alignment, load-bearing hardware, or electronics fails at high rates when done by first-timers. Not because first-timers are incapable, but because gate systems fail for reasons that aren’t visible until you know what to look for. The post that shifted. The board that was failing before the motor showed symptoms. The operator arm that was binding. A hinge bracket breaks for a reason. Replacing the bracket without finding the reason is a temporary patch.
Professional gate repair pricing in Garden Grove varies by task. Minor adjustments and lubrication typically fall between $120 and $200 per visit. Hinge or wheel replacements run $180 to $400 depending on the gate’s weight and the condition of the posts. Gate operator board replacements range $350 to $700 depending on brand, with LiftMaster and FAAC boards at the upper end. Full operator replacements run $900 to $1,800 installed. These are flat, written, pre-work prices: the price you’re quoted is the price you pay.
The Three Gate Tasks Where DIY Is Unambiguously the Right Call
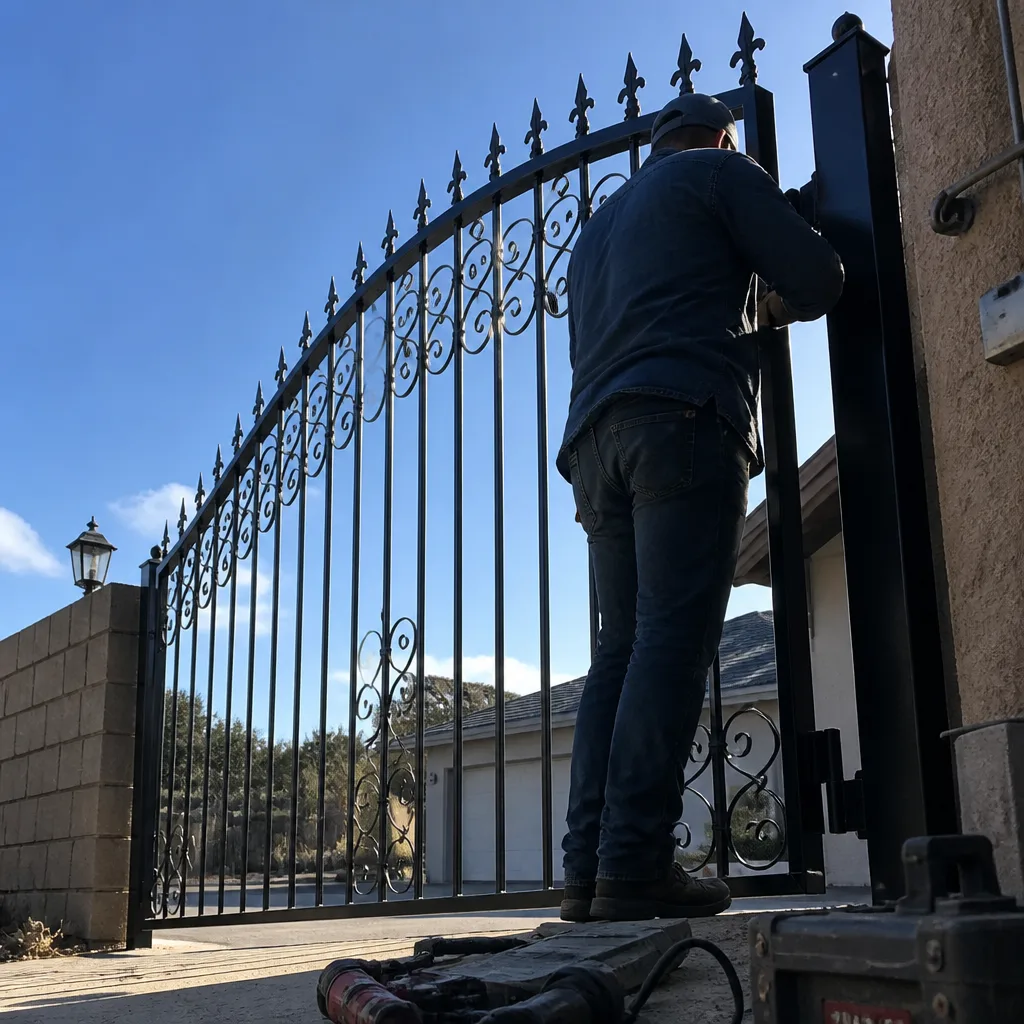
None of this means you should call a technician for everything. There are three gate tasks where DIY is exactly right, and we encourage Garden Grove homeowners to do them regularly.
1. The Monthly Visual Inspection
Walk your gate’s full travel path once a month. Look at the hinges, the welds, the wheel tracks, the chain tension, the keypad condition, and the photo-eye alignment. You’re not fixing anything; you’re building a baseline. The value of a monthly inspection is pattern recognition: you know when the gate’s sag has worsened, when a weld crack has grown, when a wheel has started to flatten. That knowledge is yours alone, because no technician sees the gate as often as you do. When you do call a professional, your observations shorten the diagnostic time.
2. Cleaning and Lubrication
Garden Grove’s coastal air carries salt, and salt accelerates corrosion on exposed steel and aluminum. Every three months, wash the gate’s moving parts with a mild detergent and water, then apply a lithium-based grease to hinges, wheels, and the chain. Use a dry-film lubricant on the track if the gate slides. This is genuinely useful maintenance, it’s completely safe, and it extends the life of every component. You’re not adjusting anything; you’re protecting what’s already there.
3. Battery Replacement in Wireless Components
Keypads, remotes, and wireless safety sensors run on batteries that drain. Replacing them is a five-dollar, five-minute task that any homeowner can complete. The important step is documentation: note the replacement date and the battery type on a sticker inside the keypad cover or the operator housing. The next owner, and the next technician, will thank you. This is the same documentation habit professionals use, applied at the scale of a battery swap.
These three tasks share a common thread: they’re observational, low-risk, and reversible. They improve the system without altering it. That’s the entire DIY sweet spot.
Common Mistakes to Avoid
- Opening the operator housing to “take a look.” Gate operator internals include stored-energy components and circuit boards that damage easily. Once opened, the warranty may be voided whether anything was changed or not.
- Replacing a hinge without checking post alignment. Garden Grove’s shifting soil means the hinge was likely the symptom, not the cause. A new hinge on a shifted post fails again.
- Disconnecting a photo-eye because the gate “wouldn’t close.” The photo-eye was misaligned, which is a $20 fix. Disconnecting it creates a legal liability and may void the operator warranty. This is one of the most common unsafe shortcuts we see in Garden Grove neighborhoods.
- Using WD-40 on gate hinges. WD-40 is a solvent, not a lubricant. It strips existing grease and leaves the hinge drier than before. Use lithium grease.
- Guessing at limit-switch adjustments. A limit switch set too far past travel will strip gears or burn out a motor. If you don’t know the correct travel distance, don’t touch the settings.
- Skipping photo documentation. Whatever repair you complete, photograph it before, during, and after. If the gate fails later, those photos are the difference between a 20-minute diagnosis and a two-hour one.
- Assuming a “universal” part fits. Gate operators from LiftMaster, FAAC, Elite, and Mighty Mule use proprietary components. Universal parts are usually universal in the sense that they fit nothing correctly.
When to Call a Professional
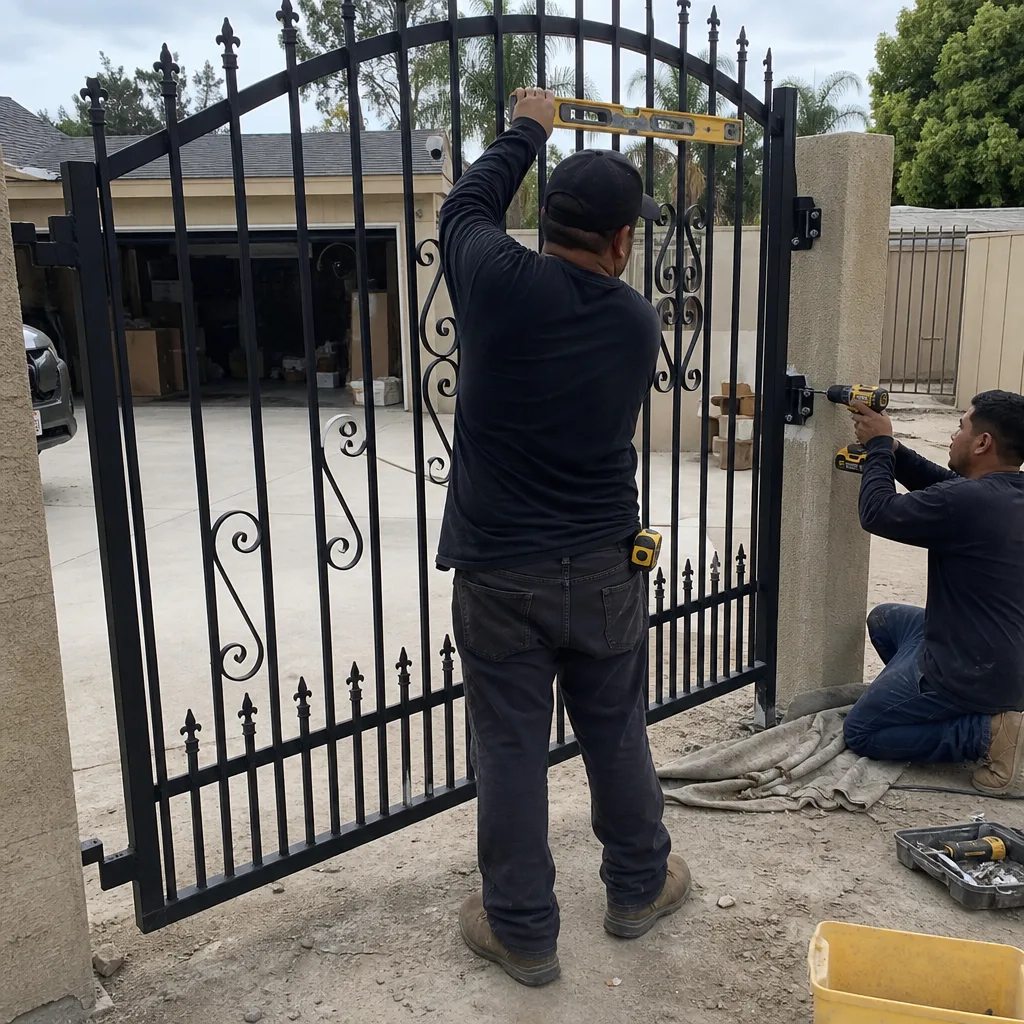
Call a professional when the gate’s safety systems are involved, when the task requires supporting the gate’s full weight, when the repair involves welding or operator internals, or when the gate has already had one DIY repair that didn’t hold. Also call when the gate stops reversing on obstruction, when the photo-eye warning light stays solid instead of blinking, or when the operator hums but the gate doesn’t move. These are symptoms with specific causes, and the causes usually aren’t visible to the untrained eye. For more guides & resources, visit our blog. Vance Gate Repair Garden Grove offers free estimates in Garden Grove for every repair type we handle, from hinge replacement to full operator installation. The written price is in your hand before any work starts, and the 365-Day Done Right Promise covers every repair for a full year. Call (657) 837-6867 and a live person answers, day or night.
Frequently Asked Questions
The typical savings on a truly safe DIY repair, like lubrication or battery replacement, is $120 to $200, which is the cost of a standard service visit. The typical loss on an attempted DIY repair of a safety or structural component runs $300 to $900, once you factor in the voided warranty, the follow-up professional call, and the corrective work. Most DIY gate repair in Garden Grove nets negative when it crosses the safety line.
Yes, in most cases you can legally work on your own property. But you cannot legally operate an automated gate that lacks functioning UL 325 entrapment protection, regardless of who performed the work. The legal liability attaches to the property, not the technician. If you disable a photo-eye yourself and someone is injured, your homeowner’s insurance is the first line of defense and the first thing an attorney will examine.
Any task involving torsion springs, load-bearing hinge replacement, welding, operator control boards, or entrapment-protection sensors. These repairs carry injury risk, legal risk, and warranty risk that outweigh any labor savings. The pattern is simple: if the part influences how the gate stops, reverses, or bears weight, a professional should handle it.
It can, and often does. LiftMaster, FAAC, Elite, and Mighty Mule all include warranty exclusions for unauthorized adjustments or repairs to safety-critical components. The exclusion language varies by brand, but the effect is the same: a warranty claim may be denied because the manufacturer cannot verify the work was performed correctly. We’ve seen homeowners lose $400 in warranty coverage after opening a control board cover.
Service visits generally fall between $120 and $200 for adjustments and minor repairs. Hinge replacements run $180 to $400. Operator board replacements run $350 to $700. Full operator replacements run $900 to $1,800 installed, depending on brand and gate type. Every price is written and agreed before work begins at Vance Gate Repair Garden Grove. Call (657) 837-6867 for an exact written quote.
Document it. Photograph the repair before, during, and after. Note the date, the parts used, and the adjustment made. Attach the documentation to the operator housing or store it with your homeowner’s records. The next time a professional visits, hand them the record and you’ll shorten the diagnostic time immediately. The same documentation habit professionals use on every job is the habit that makes DIY repairs hold their value.
We service nine major gate automation brands: LiftMaster, FAAC, BFT, Linear, Viking, Ghost Controls, DoorKing, Elite, and Mighty Mule. If the motor on your property works, we repair it. We don’t steer homeowners toward replacement units when the existing operator can be fixed, and our written pricing reflects the actual repair scope.
The Bottom Line
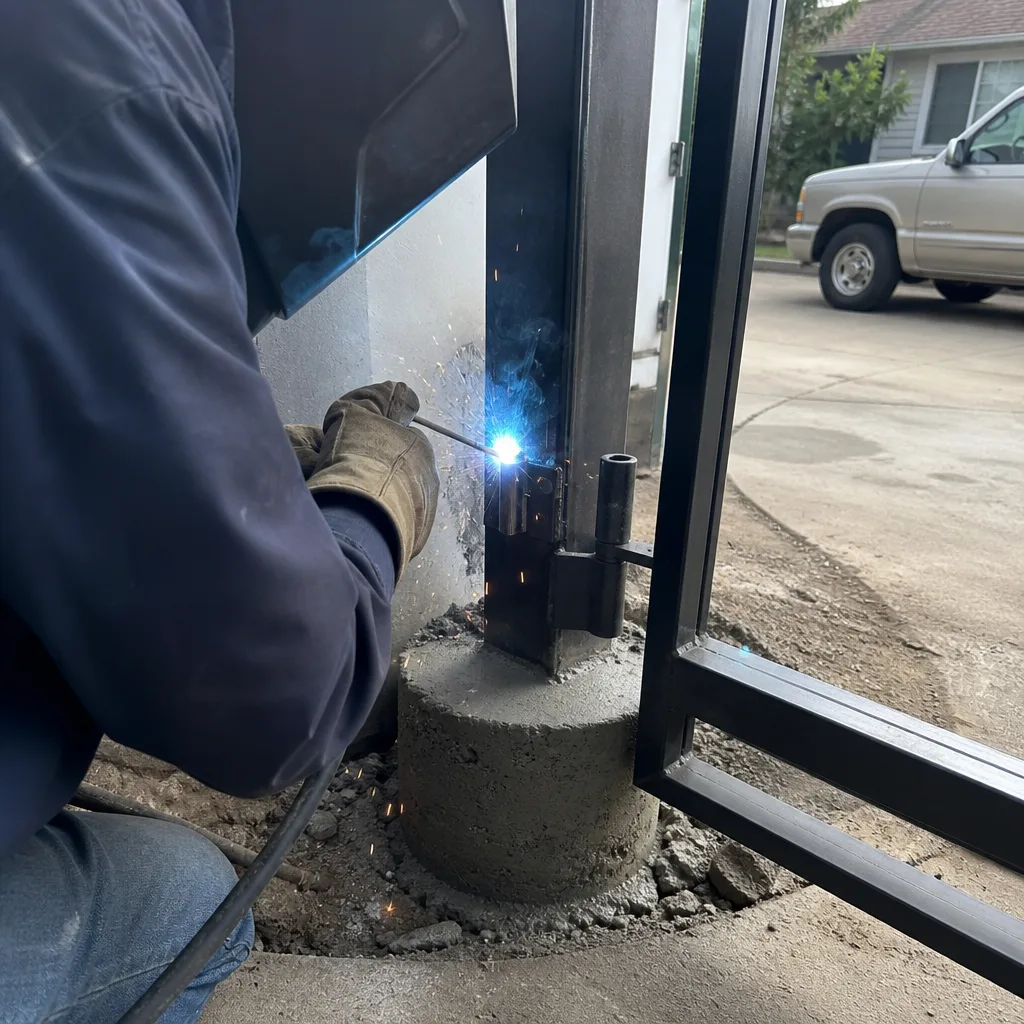
The DIY-versus-professional gate repair decision is not about your competence. It’s about classification. Safe, external, reversible tasks like inspection, lubrication, and battery replacement are yours to own, and they genuinely extend your gate’s life. Load-bearing, electrical, and safety-critical tasks belong to a professional, not because you can’t learn them, but because the cost of learning on your own gate is measured in voided warranties, denied insurance claims, and repeat repairs. In Garden Grove, the soil moves, the salt air corrodes, and the codes are specific. A professional who documents every visit, prices in writing, and stands behind the work for 365 days is not an expense. It’s the cheapest way to keep a gate operating correctly. Call Vance Gate Repair Garden Grove at (657) 837-6867 for a free estimate, or explore our gate installation services in Garden Grove if a full replacement is on the table.
Written by Adrian Vance, Owner at Vance Gate Repair Garden Grove, serving Garden Grove since 2014.